Even though fall arrived on Sunday in Seattle with rain, wind, and cooler temperatures, serveral clematis were still showing their wares. Some even starred in beautiful autumn floral combinations!

Clematis My Angel (rumored to be a thug)
A Digression
But first, let me digress about a recent sighting of Clematis My Angel. A month ago or so, my husband and I took a weekend jaunt to the quaint Victorian town of Port Townsend on the Olympic peninsula here in Washington State. We enjoyed a great lunch one day outdoors on the patio of a little neighborhood restaurant. Several houses, including the restaurant (which had been a house in an earlier life), had yards that butted up against each other with a wide and winding semi-public pathway in-between. As we were eating, my eagle clematis eye recognized that an unfamiliar clematis was cloaking an arbor about 30′ away, so quite naturally I had to investigate. It was Clematis My Angel, a hybrid of Clematis orientalis var orientalis and Clematis intricata, raised by Wim Snoeijer of the Dutch nursery Jan van Zoest. It’s a lovely clematis that blooms in August and has great seedheads. I, however, have steered clear of it because of rumors that it can sometimes become invasive, not only reseeding but also running underground. It’s lovely, though, with nodding bronzy-purple buds that open to show off yellow undersides with brown stamens. Hmm, maybe I DO need this one, after all.
Way Too Many Clematis Need Planting
Sunday I managed to plant eight of the twenty-four clematis that have somehow showed up in my potting area. Then, today, I upgraded four to larger pots–too young or too small to plant out yet. Because the eight clematis I managed to get planted this weekend are new to me, I have no photos of my own. But you can check out the links below to Clematis on the Web to see what they look like. All but one of these will join three or four others on the back fence of my property – and grow through to the alley-where they can WOW alley strollers and dog walkers!
Clematis Mrs. Cholmondeley (pronounced Chumley)
Also planted, but in a place seen from inside the garden:
Clematis tibetana (black form) (should look similar to the one at this link)
A Sampling of my September Bloomers
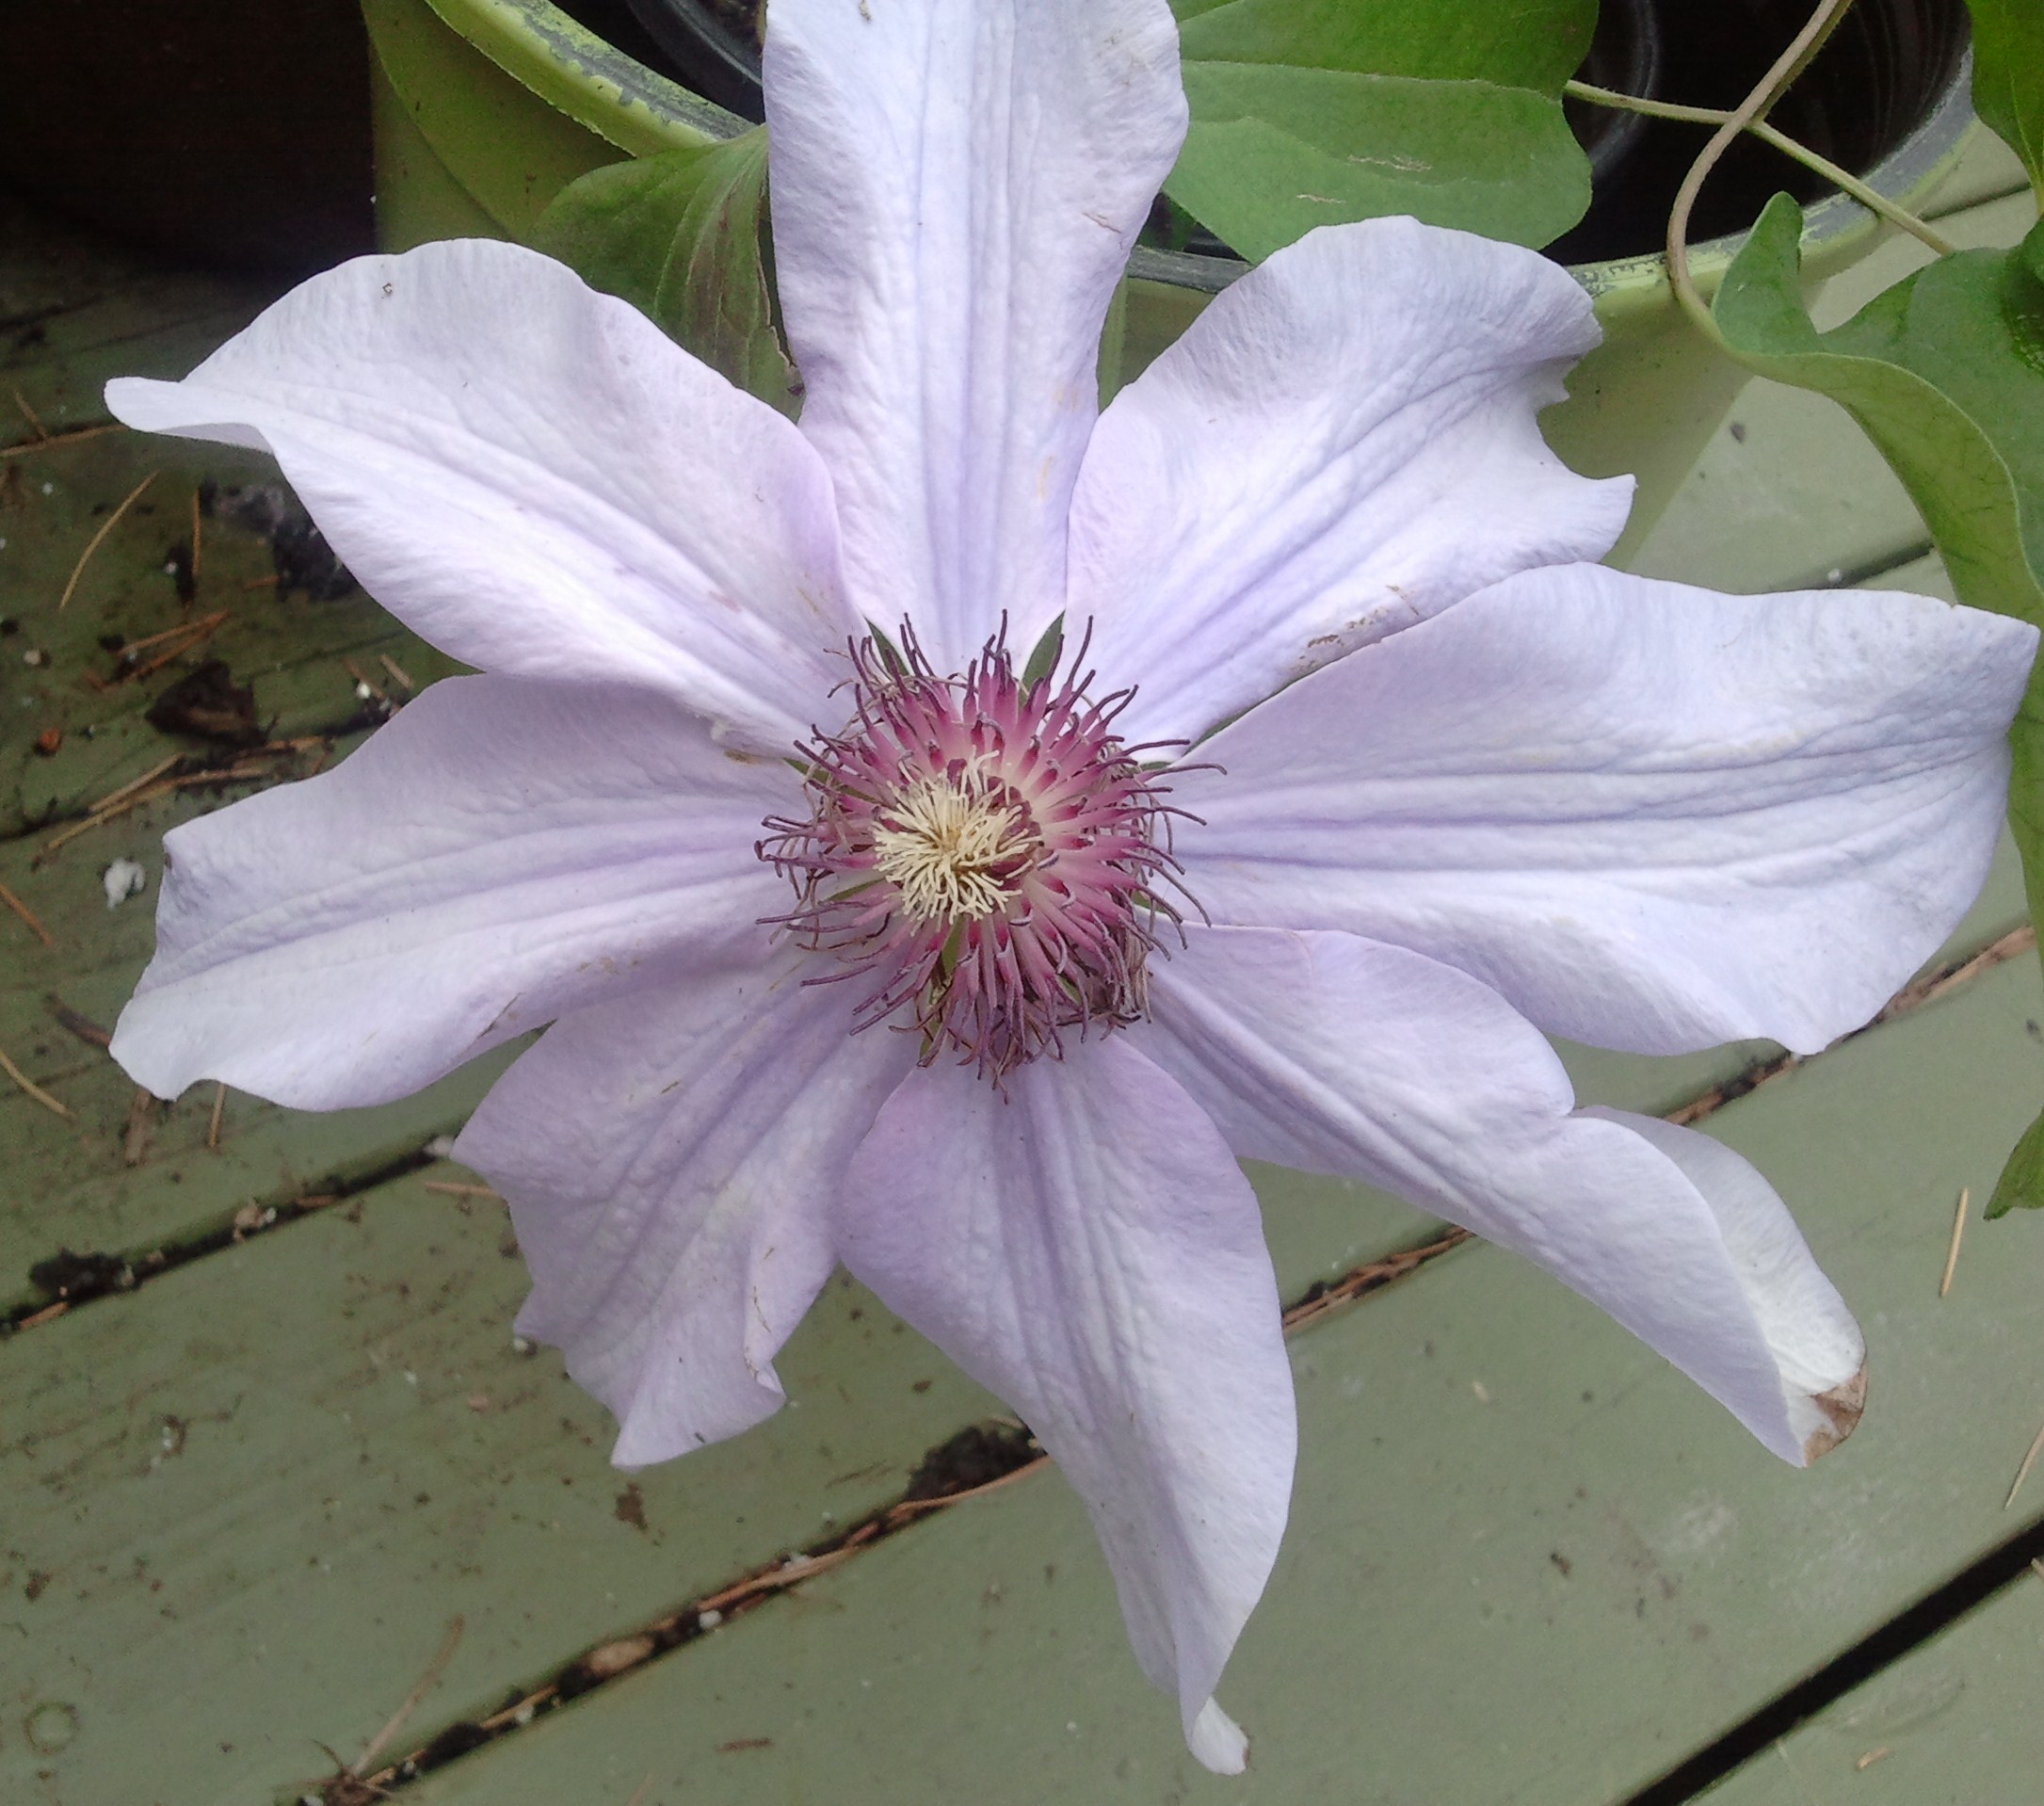
One of the most lovely clematis blooming in my garden now is Clematis florida sieboldii next to my front steps. I have enjoyed the one in my back garden so much that I got one last spring for the front . It bloomed beautifully for me in June, but then collapsed to the ground (wilt? broken stem? something else? who knows?). So I had to cut it to the ground – then, lo and behold, it grew a new stem and is blooming again in September! Gotta love that clem!

Clematis florida sieboldii (in my front garden)
Madame Baron Veillard is still throwing its welcome late blooms.
Clematis Madame Baron Veillard
Even Betty Corning has put out a couple of new blossoms for my enjoyment.

Clematis Betty Corning
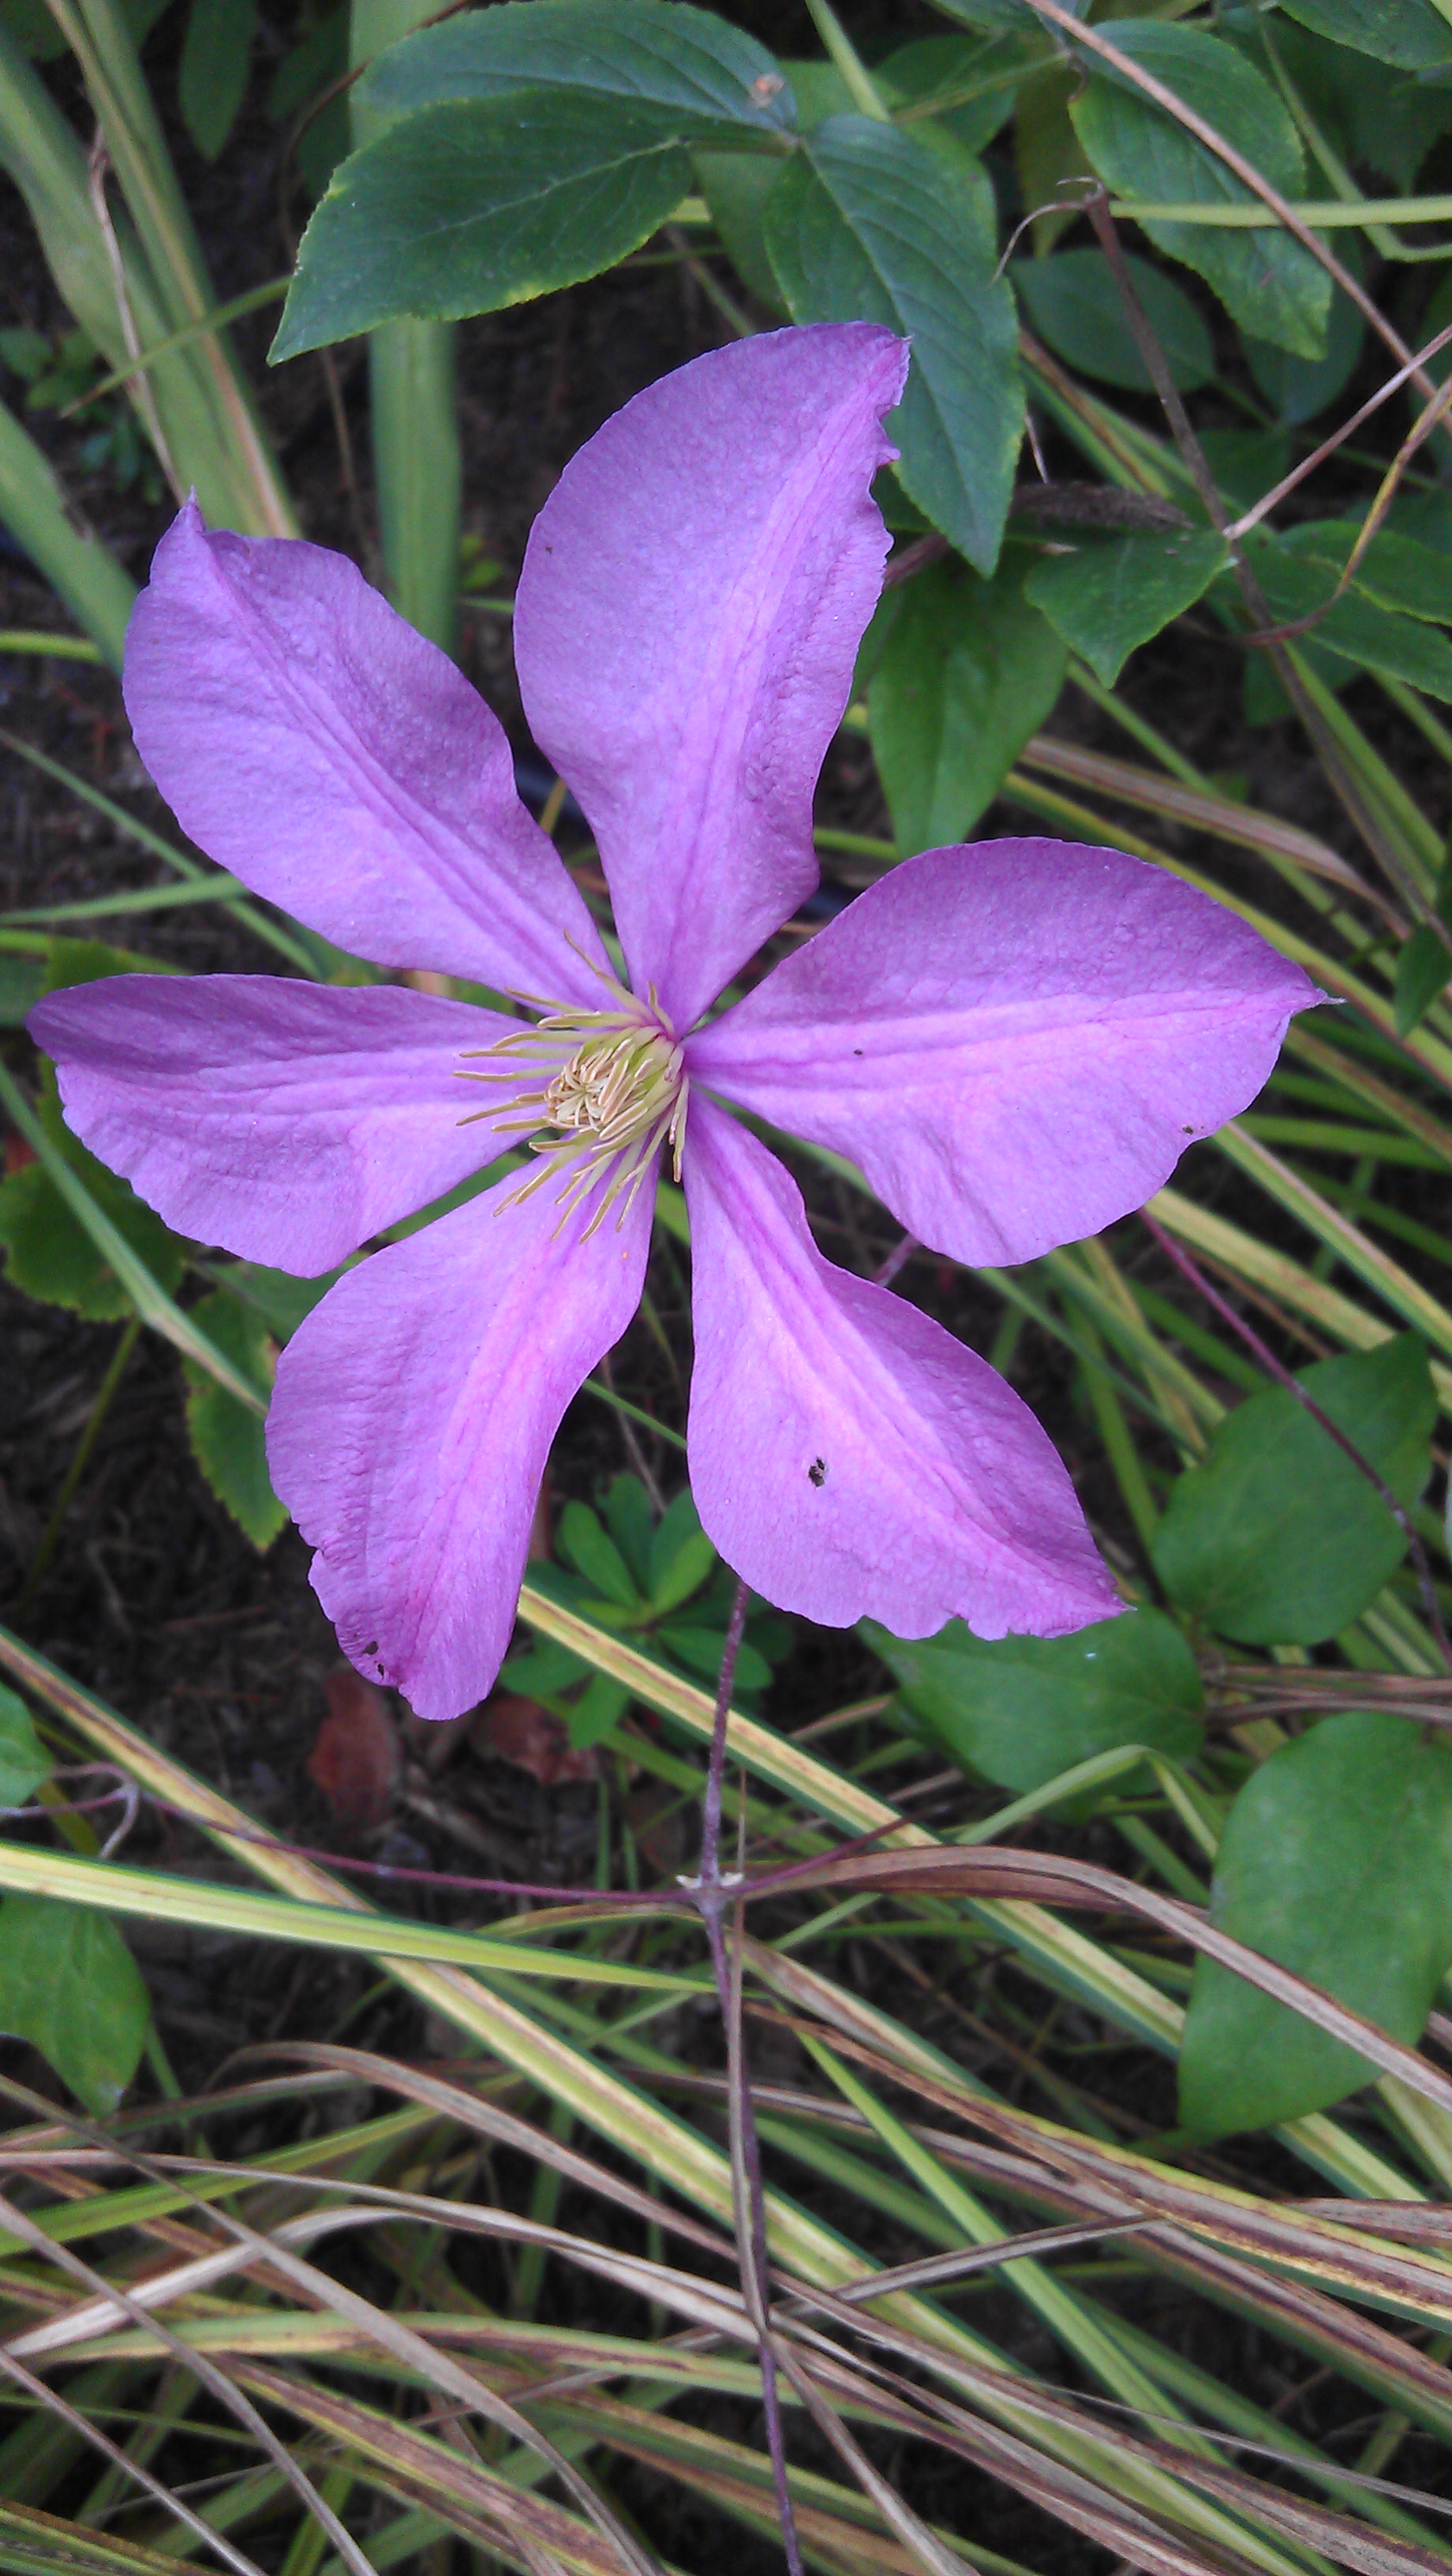
And Clematis Sizaia Ptitsa, which has been blooming for months, is still sending out new flowers.

Clematis Sizaia Ptitsa, still going strong
Clematis Etoile de Malicorne, a June bloomer, showed off with a late and lovely blossom.

Clematis Etoile de Malicorne
Nearby Clematis Ville de Lyon is blooming with the black berries of a Hypericum.

Clematis Ville de Lyon
My Clematis terniflora (Sweet Autumn Clematis) is loaded down with buds and should burst into fragrant bloom any day now. Though Sweet Autumn Clematis blooms for me here in Seattle in late September and early October, when I grew it in Boston (much much more heat), it would bloom for me from August to October! But even with a shorter season here in Seattle, I wouldn’t be without it.

Multitudes of Buds on Sweet Autumn Clematis (Clematis terniflora)
Great Autumn Clematis Combos
Late blooms of Clematis Margot Koster spontaneously color-coordinated itself with a Pee Gee Hydrangea.
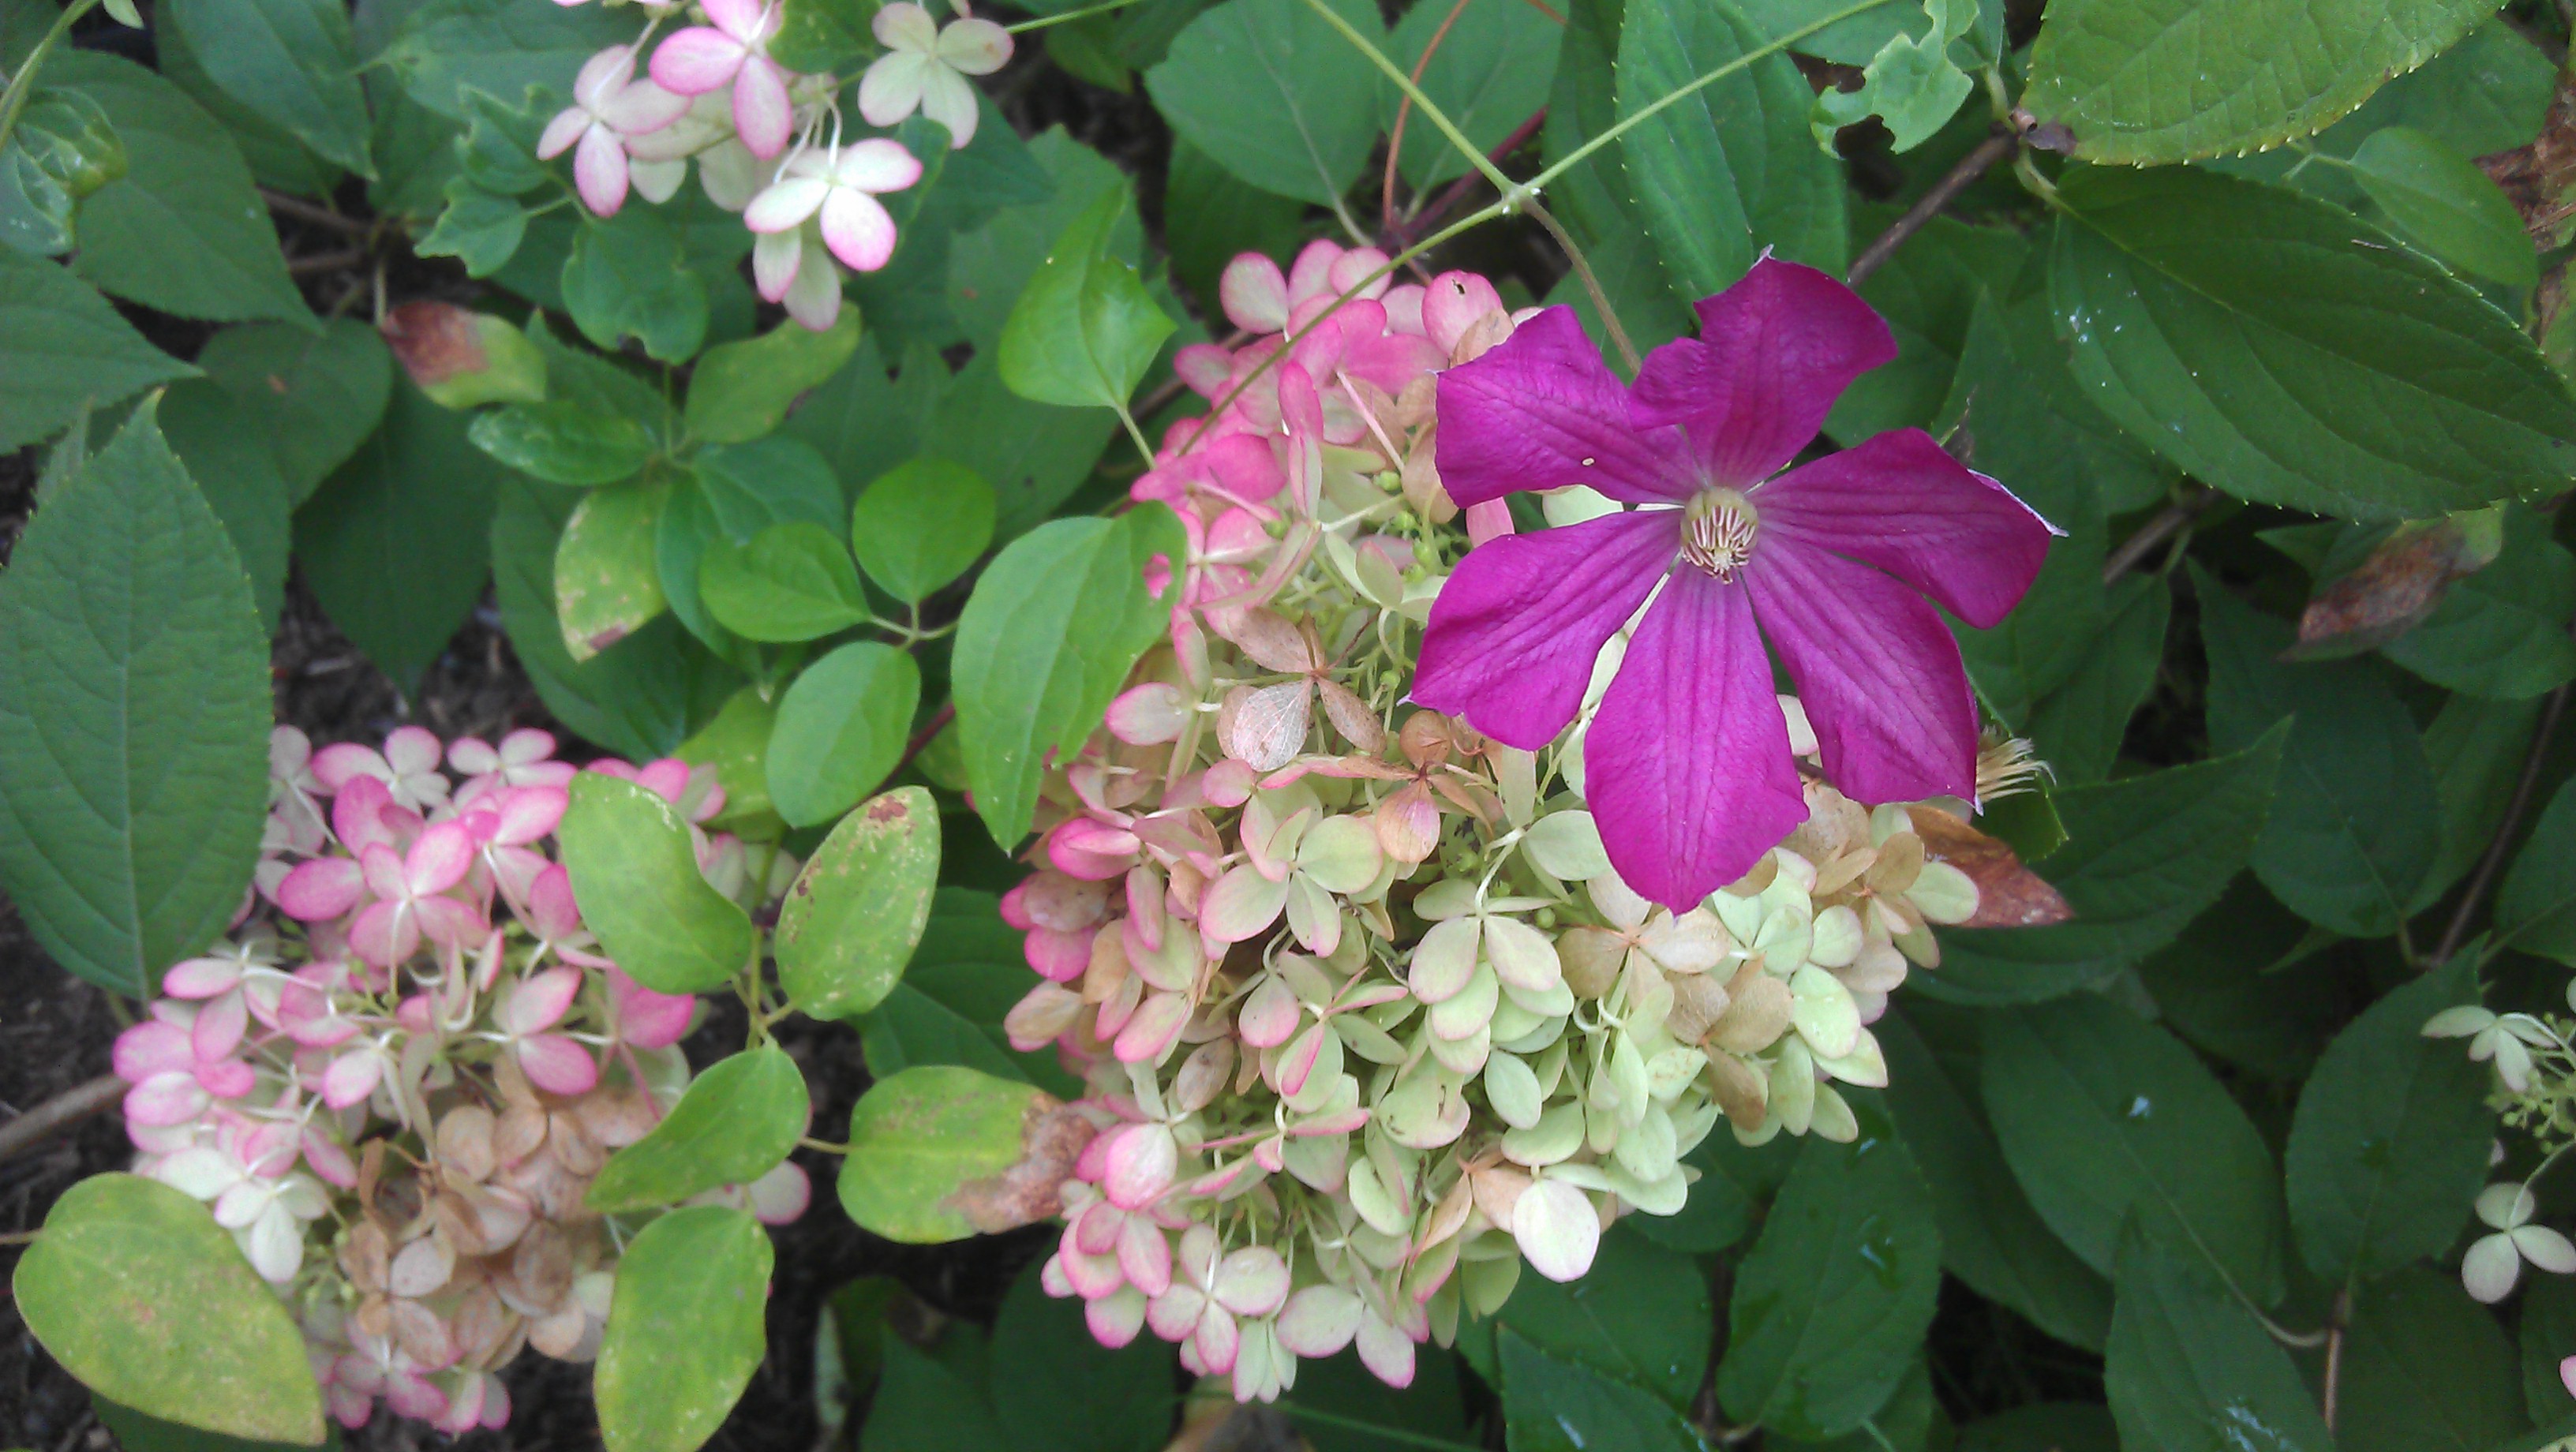
Clematis Margot Koster
Clematis Rooguchi Making a Comeback with Rudbekia Goldsturm.
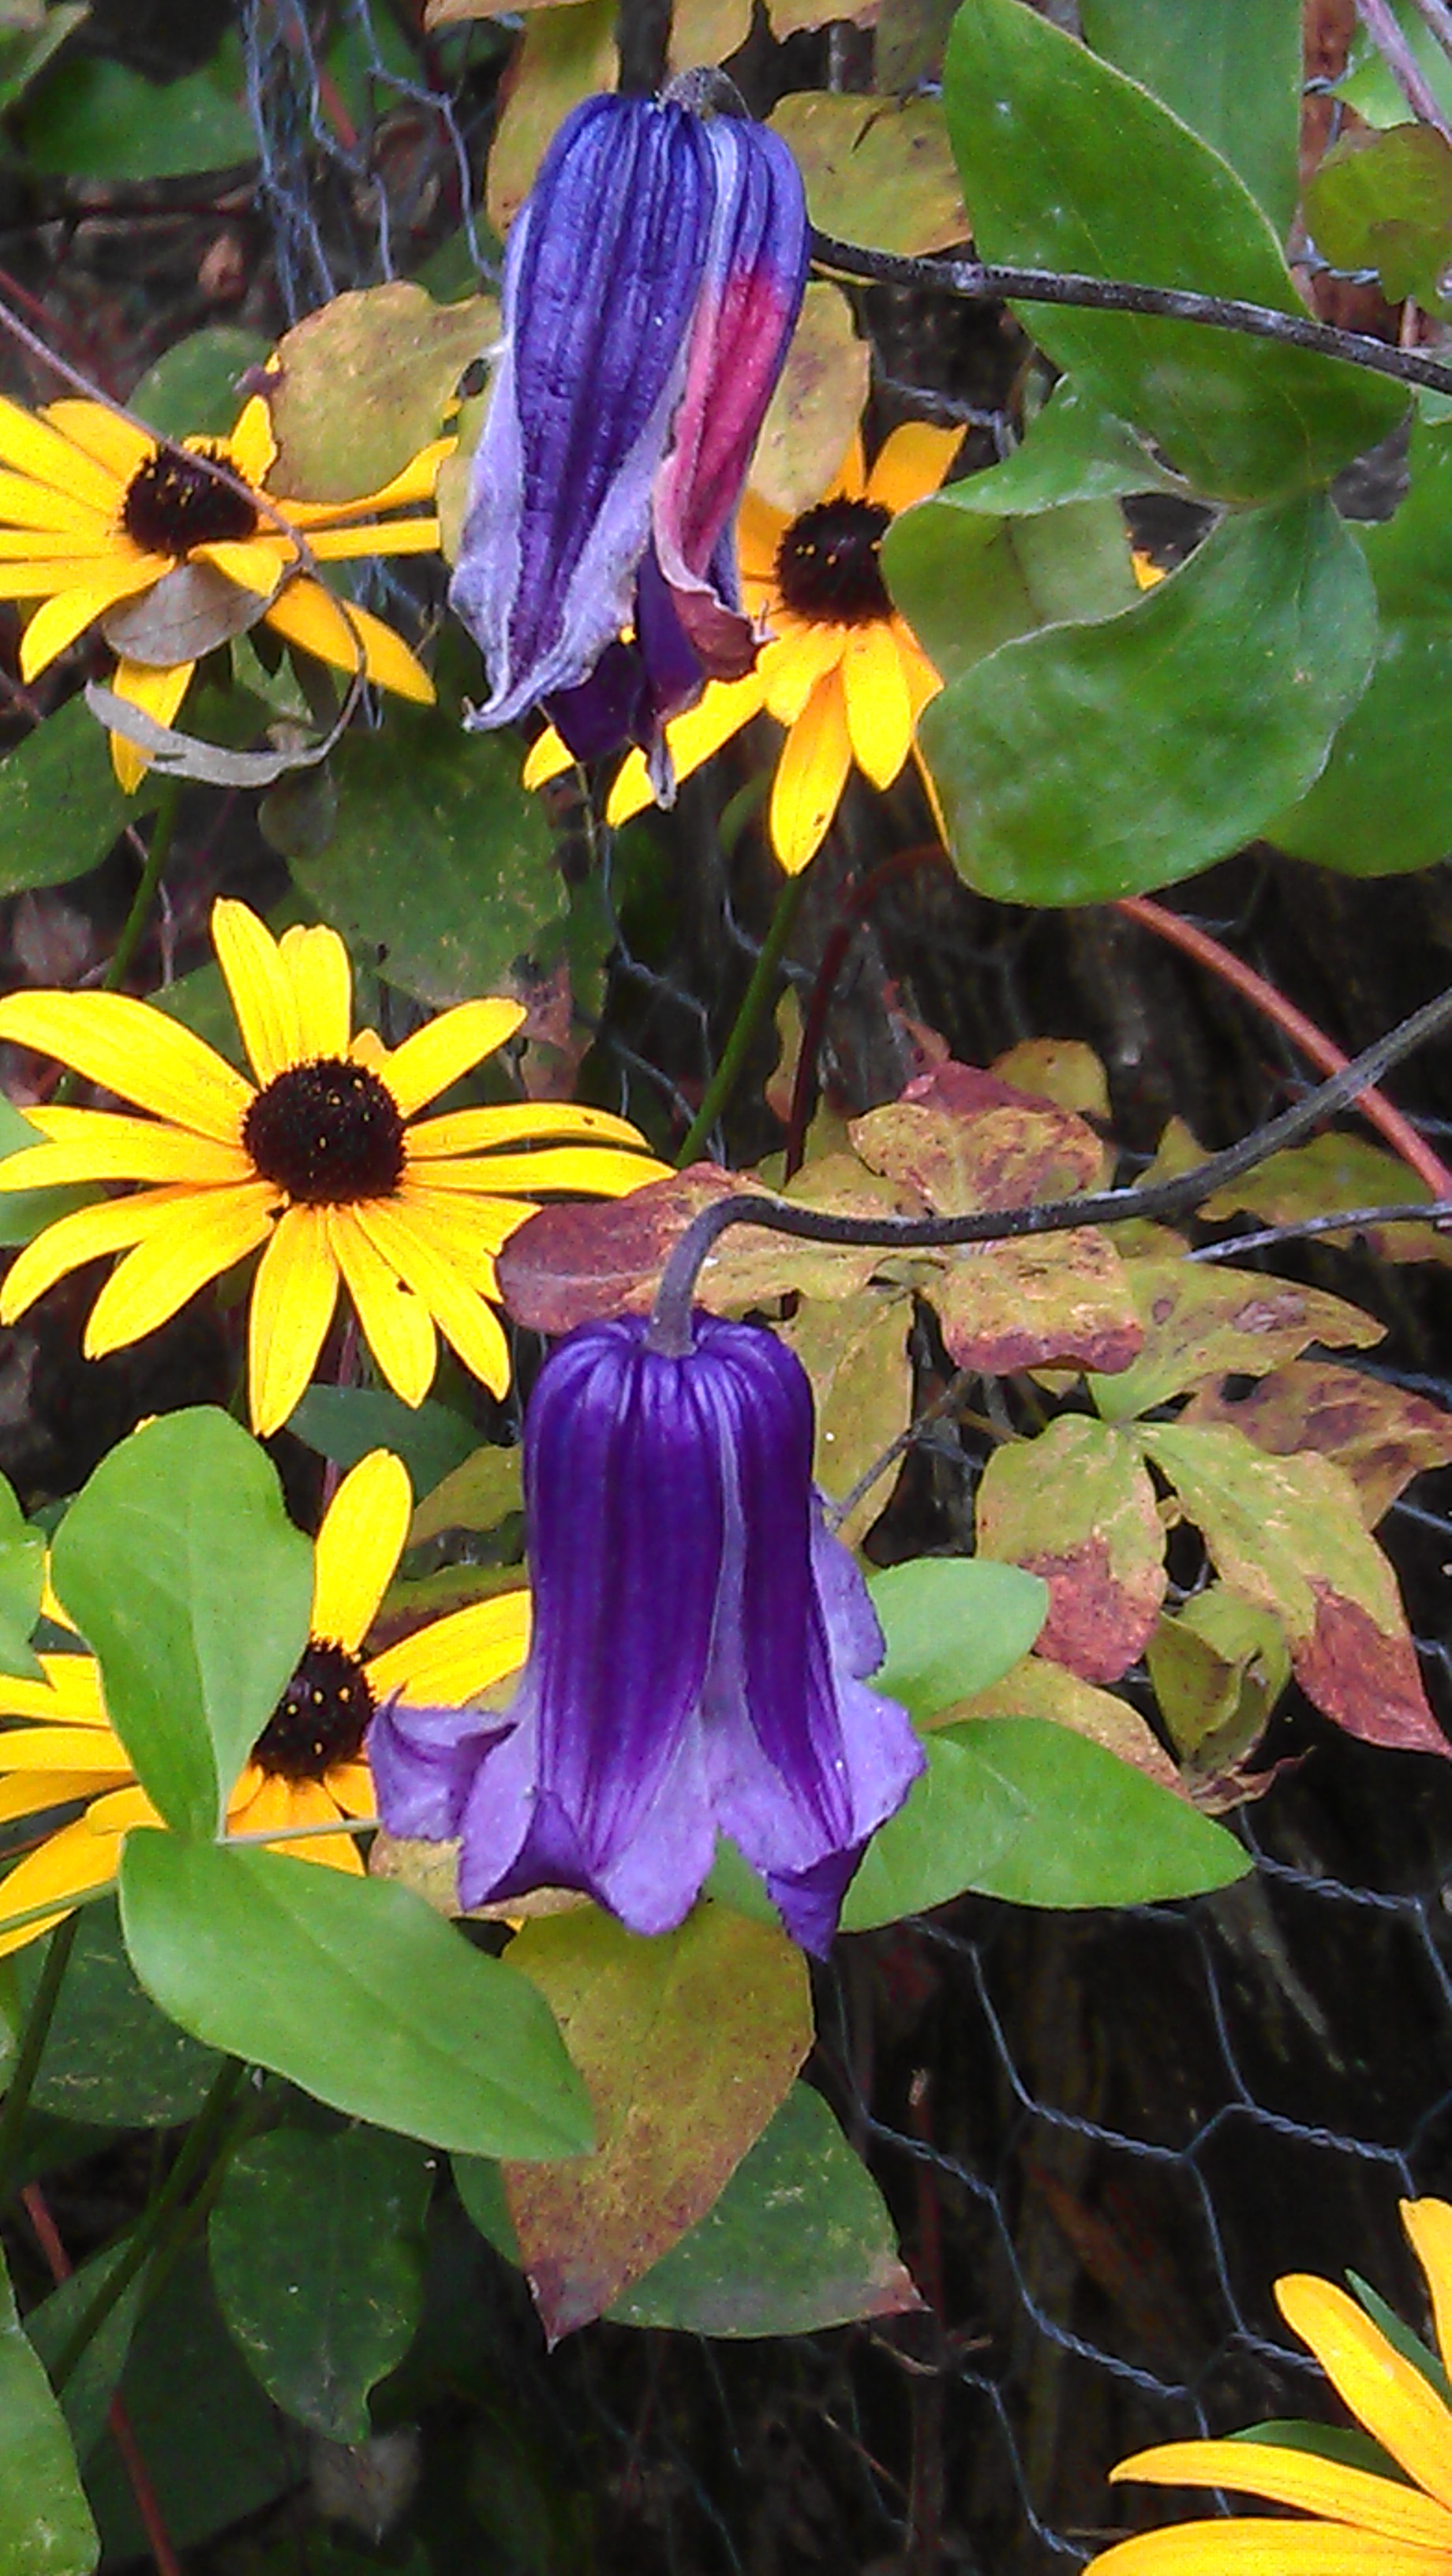
Clematis Rooguchi
As promised, here is a photo of my Clematis viorna cavorting with the beautiful lavender fruit of Beauty Berry (Calicarpa).
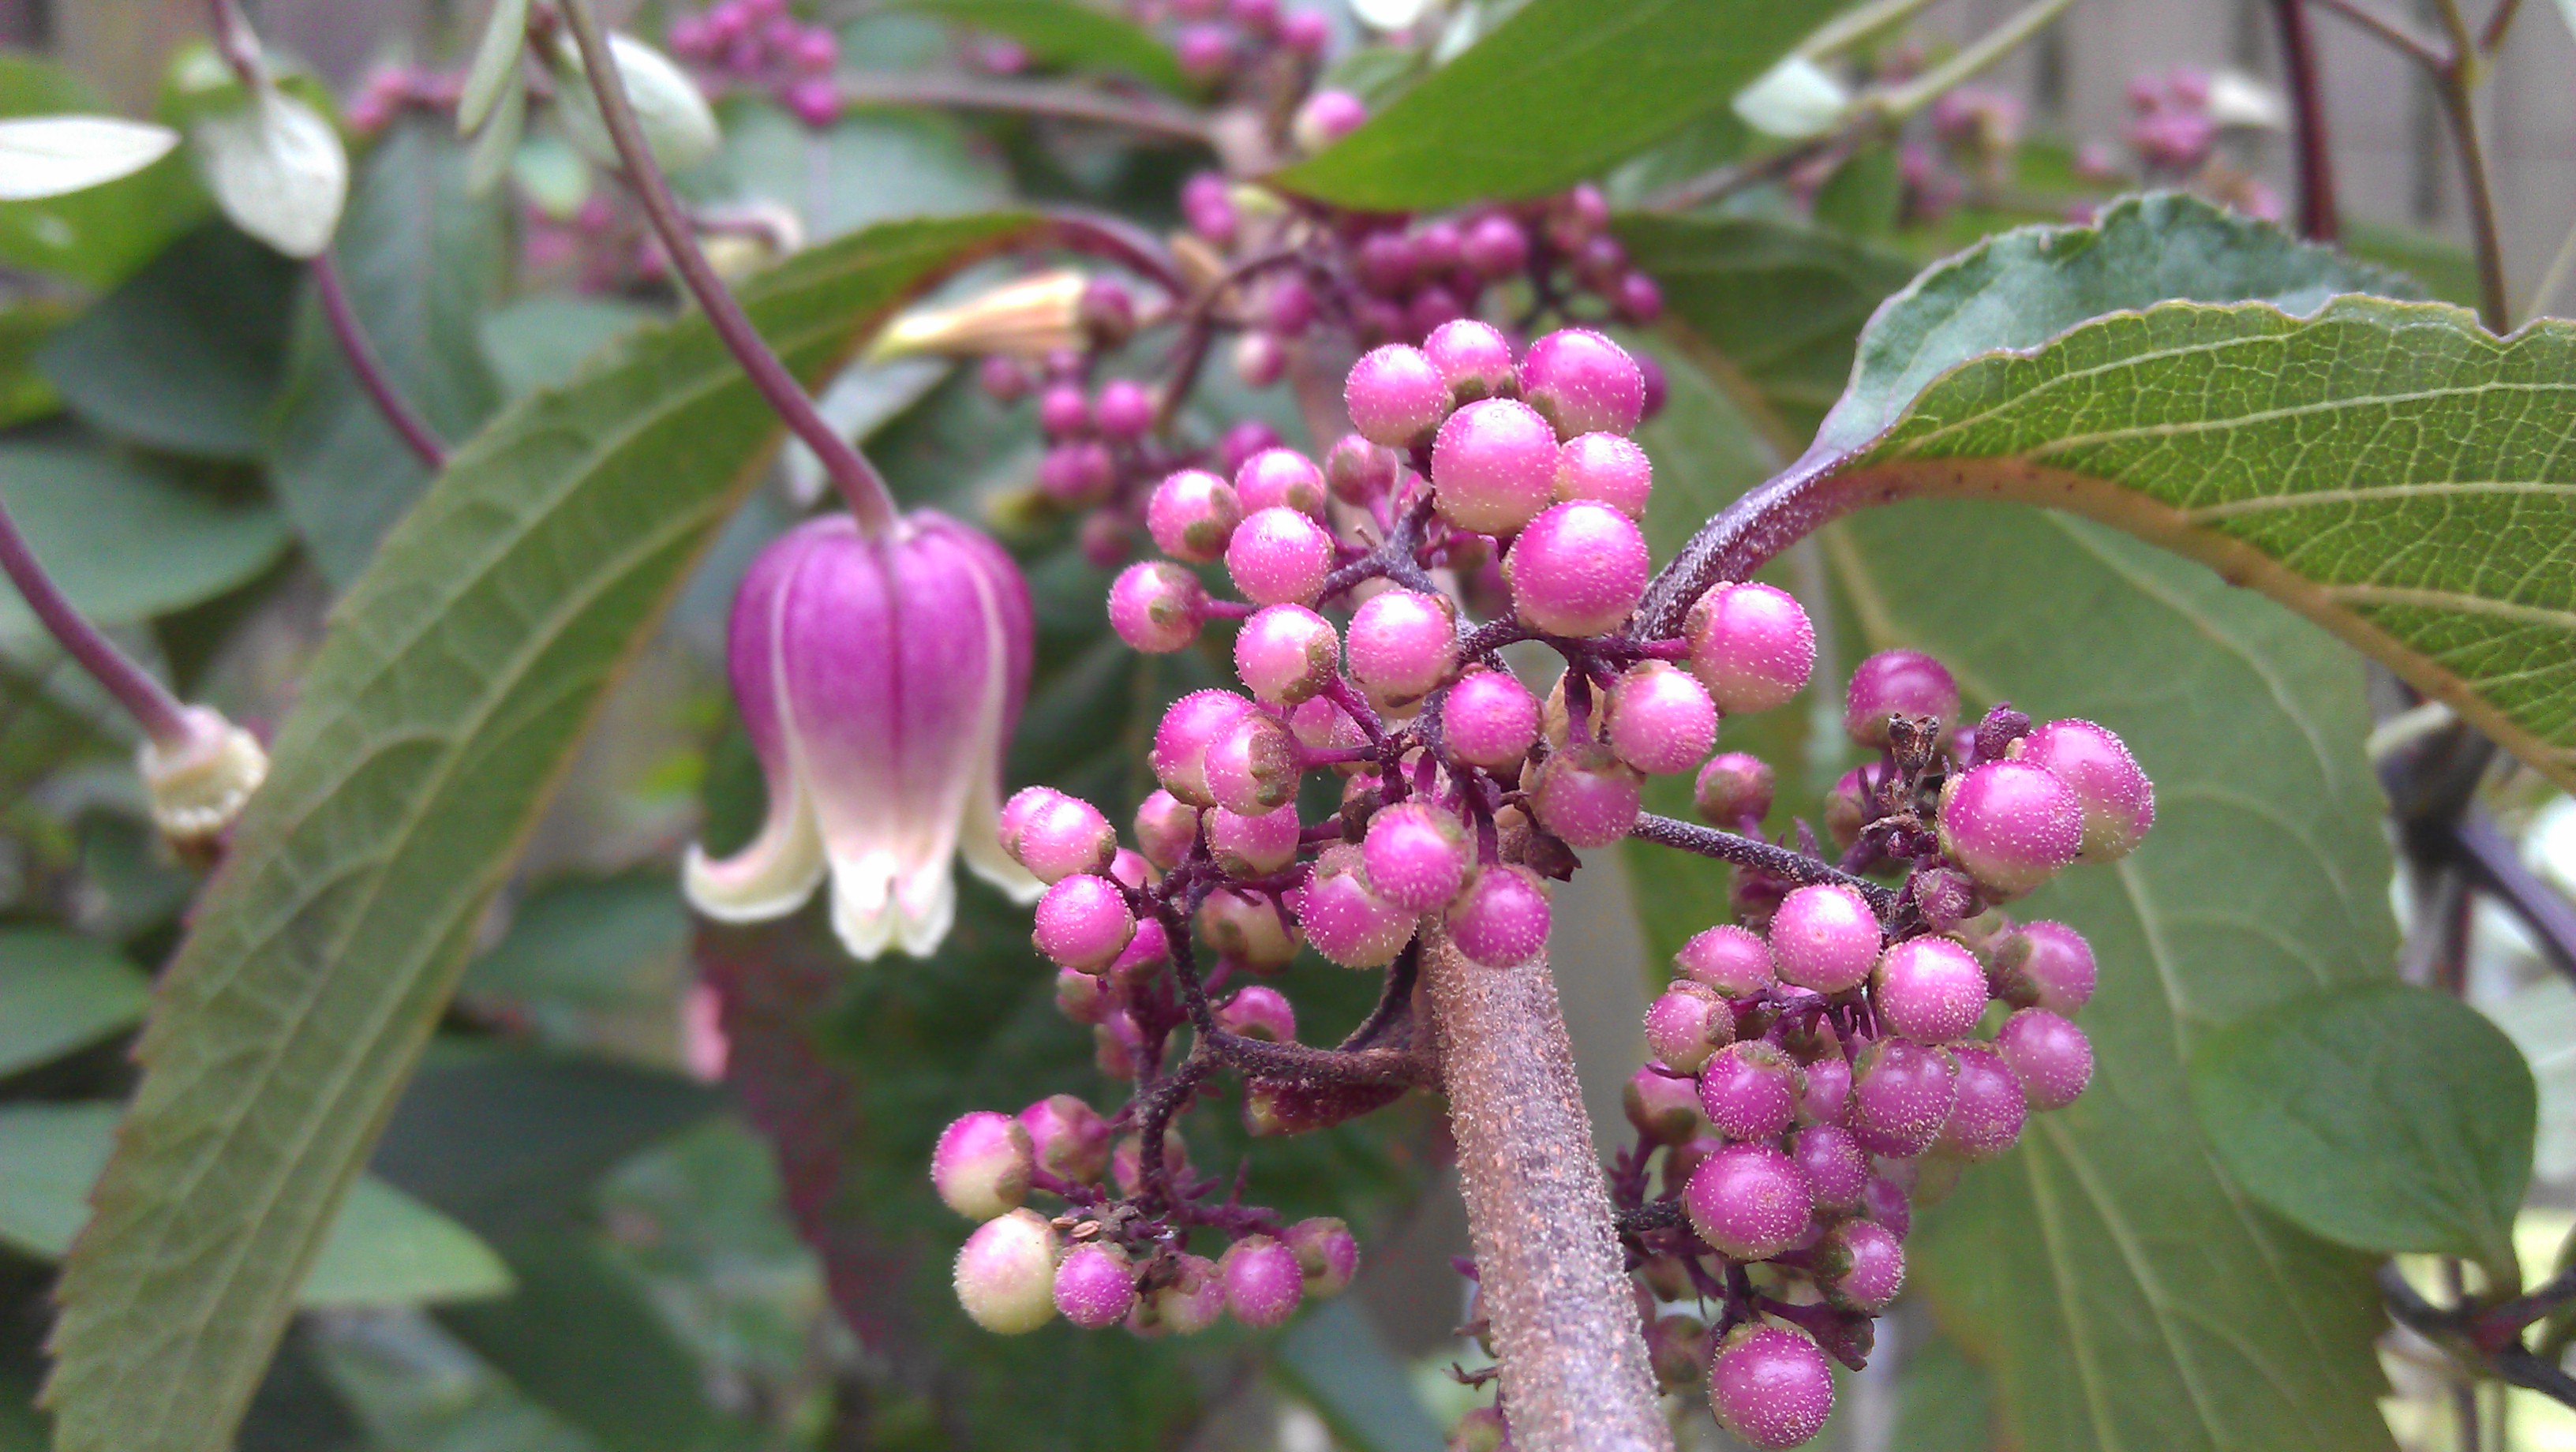
Clematis viorna with the lavender berries of Beauty Berry
Two More Sweet Little Bells
Here’s a photo of a cute hybrid of Clematis pitcheri from the southeastern US.

Clematis pitcheri hybrid on a Ceonothus.
A Japanese hybrid, Clematis Hakuju has dainty white bells that bloom off and on all summer for me with the black leaves of a dark Actea (formerly Cimicifuga) and the clear green leaves and white flowers of Nicotiana sylvestrus.

Clematis Hakuju with a dark-leaved Actea (aka Cimicifuga)
What’s blooming in YOUR garden?