The Nitty Gritty of Pruning Early-Blooming Large-Flowered Clematis (Pruning Group B)
March 26, 2013 at 10:52 am (clematisinseattle, Pruning Clematis)
Tags: clematis daniel deronda, clematis guernsey cream, clematis nelly moser, clematis rebecca, Pruning Group B

Clematis ‘Guernsey Cream’
Introduction
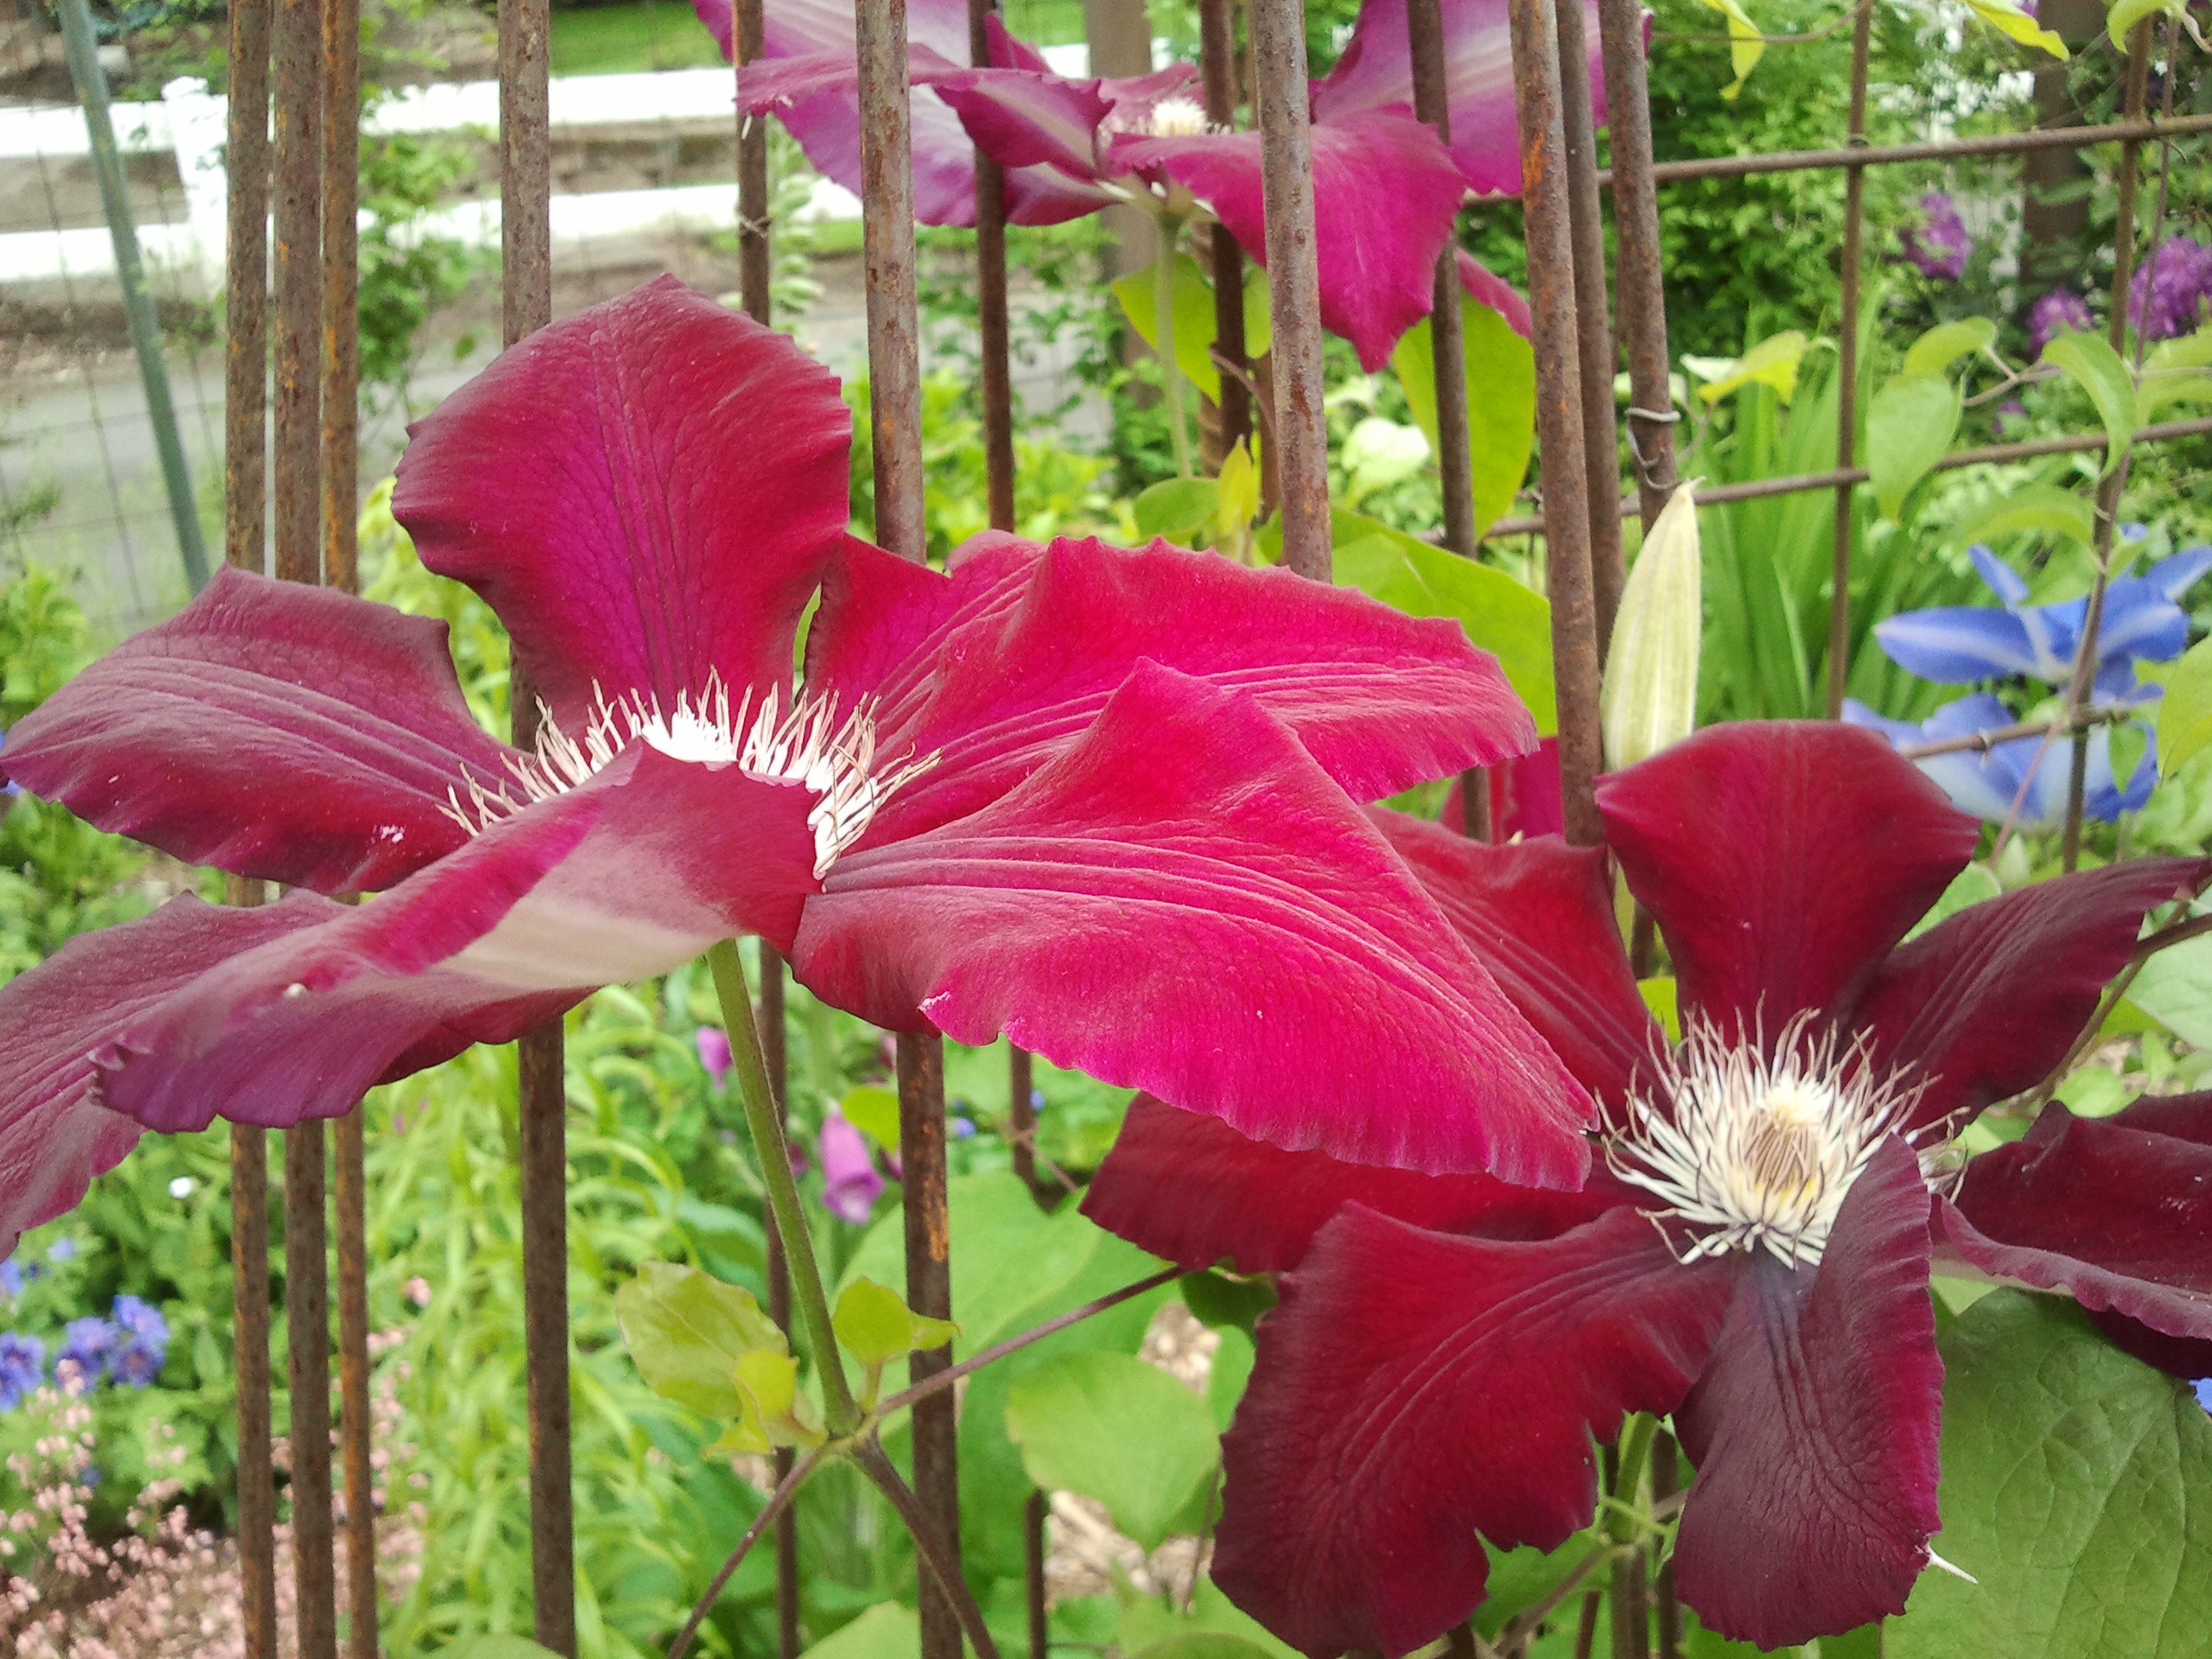
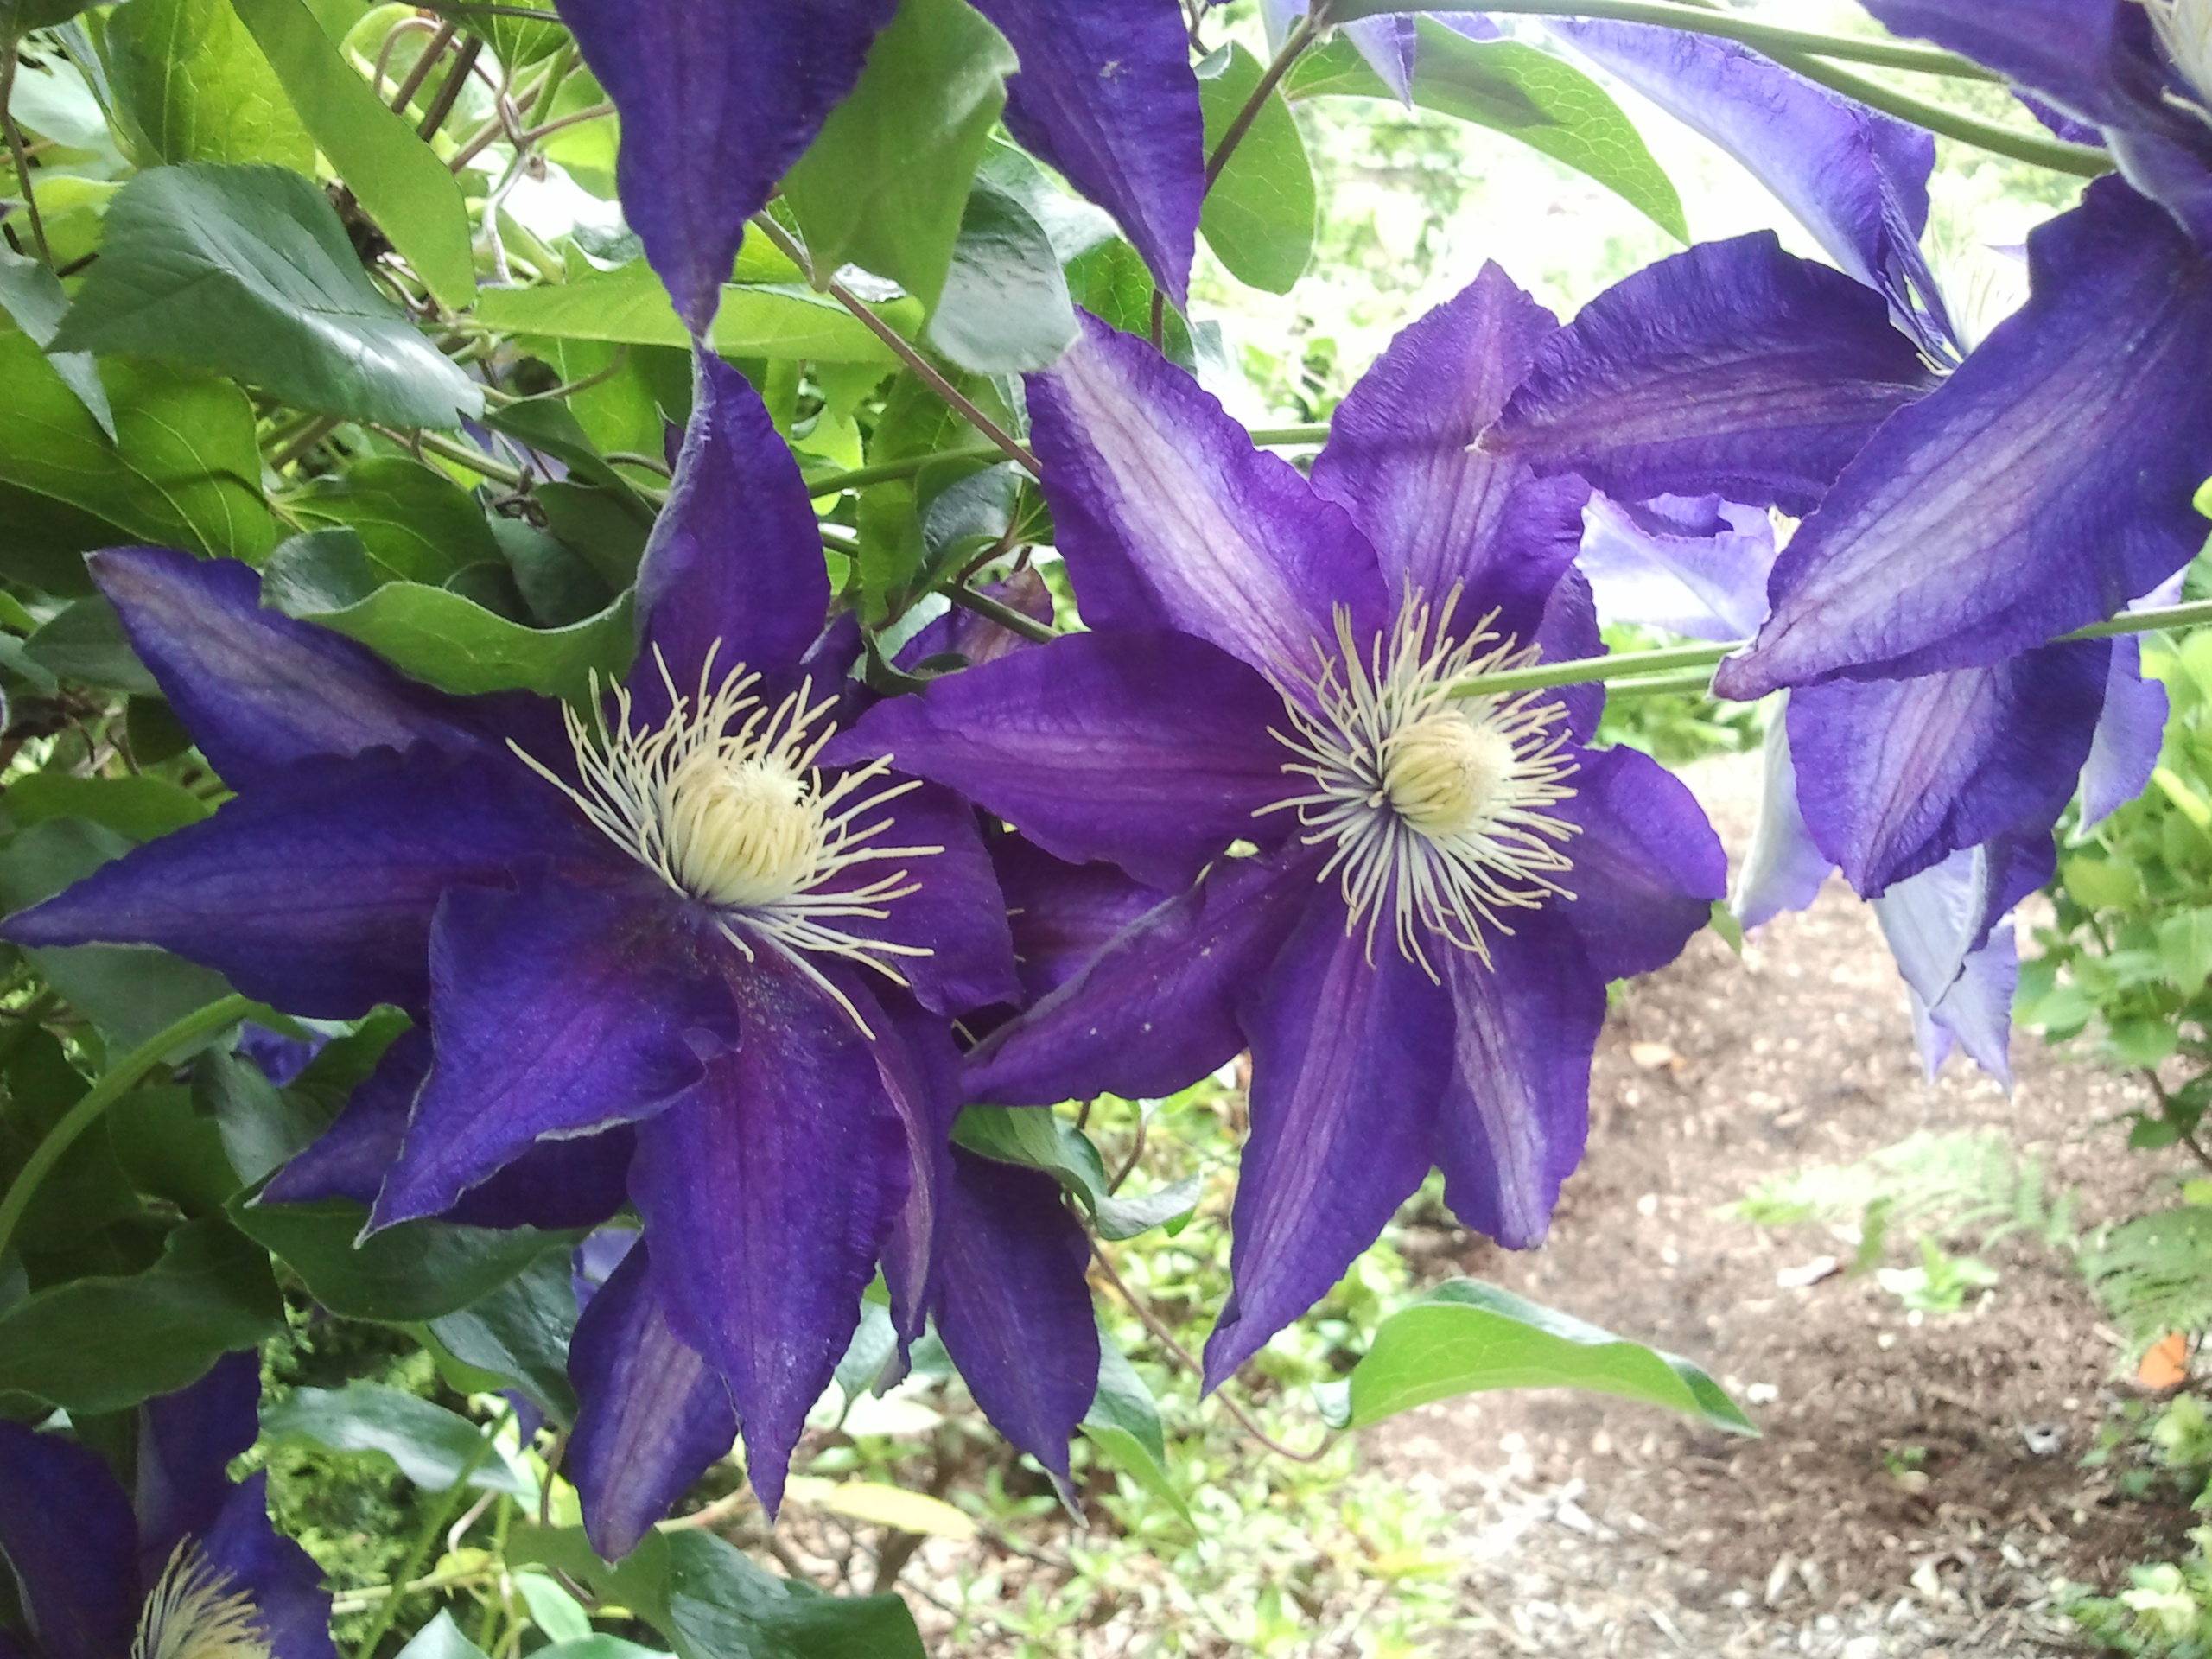
The early-blooming large-flowered clematis are the ones with heart-stopping, jaw-dropping huge and beautiful blooms in May and June. A few even bloom as early as April, at least in Seattle’s climate. Some well-known cultivars in this group include Clematis ‘Nelly Moser’ (pink), Clematis ‘Rebecca’ (red), Clematis ‘Guernsey Cream’ (cream), and Clematis ‘Daniel Deronda’ (blue). (See photos .)

Clematis ‘Nelly Moser’
Unfortunately, Pruning Group B clematis hang onto their leaves and leaf stems all winter long, resulting in a raggedy tatty mess. Don’t plant one of these clematis by the front door, because they can’t be pruned until spring when the new green vegetative buds begin to swell, showing us where to make our cuts. Fall pruning is out because it would likely send many of those beautiful flowers off to an early death in the yard waste. The gorgeous clematis unfortunatley also have two additional downsides: they require fiddly pruning and they are the ones prone to a dastardly disease called Clematis Wilt. If I can gear myself up to do it, I will write a post about wilt one of these days.

Clematis ‘Rebecca’

Stripping the Vines
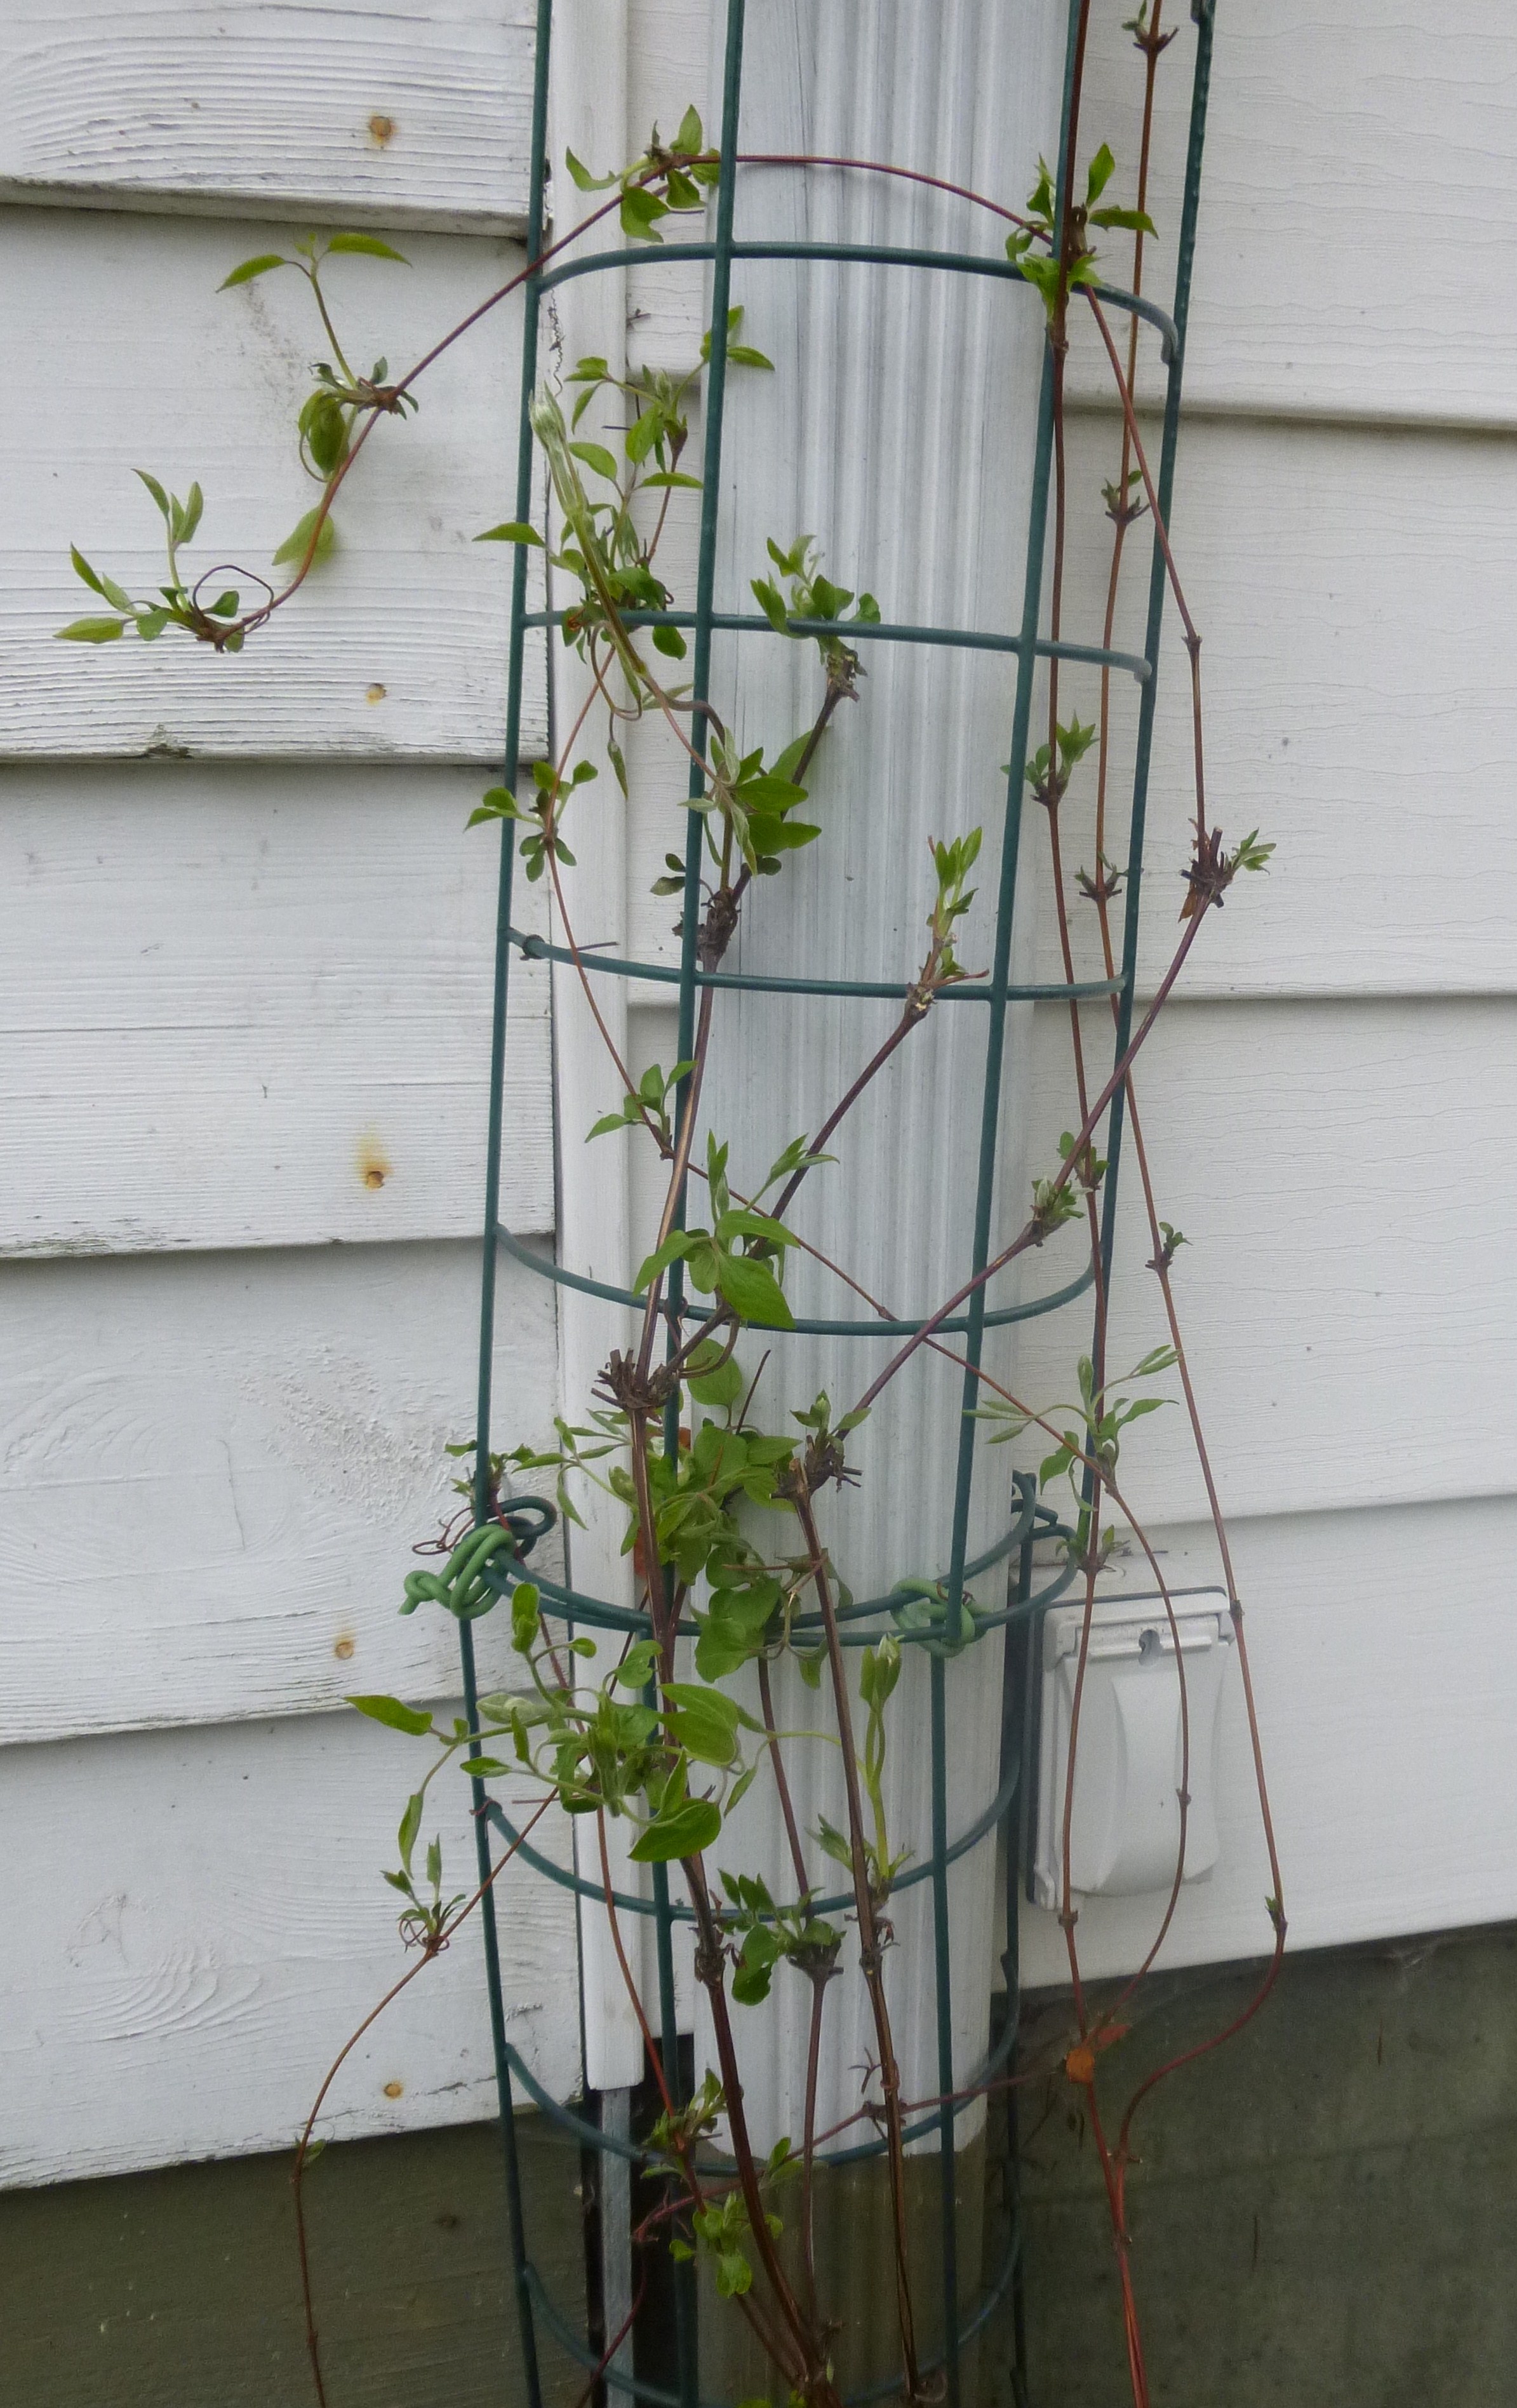
The time to prune these vines is when you begin to see green vegetative buds along the vines. The first step is to cut all the old leaves and leaf stems off the vines. The leaf stems (or petioles) are what clematis use to climb. They will have hardened over the winter and each one will have little hooks at the end (the leaf attachments), which greatly complicate untangling the vines. For a good look at what leaf stems look like, see the photo below of Clematis ‘Fair Rosamond’ before pruning. Removing the leaves and leaf stems, which is much like deadwooding a tree or shrub, is the most time consuming part of pruning the clematis in Group B. Take time and carefully remove all or most of these small leaf stems—work from the top down, bottom up, or inside out as long as you are cutting only leaves and stems, not the vines. I find that my little gardening scissors work best for this chore (see photo below). When done, you are left with stripped vines, some of which may have fallen off their supports since their little hook attachments were cut off.

Clematis ‘Fair Rosamond’ before pruning, showing old leaves and leaf stems
Cutting Them Back
Now you can actually prune the vines. Always do this work from the top down. The reason is that all the vines will look dead near the bottom, so you can easily cut a vine from the bottom, only to discover, to your chagrin, that the cut vine was carrying the bulk of the growth (and therefore the flowers). At the top of each vine, you will usually see a couple of joints on the stem with no growth, maybe a joint or two with puny growth, and then a joint with a large juicy green vegetative bud (see photo). Cut back to just above that juicy bud. Usually, between two inches and two feet of each vine get cut off. Don’t worry about any puny buds or no-bud joints below the juicy bud. Then tie or weave each vine onto its support. Spread the vines out as you do this and make as many as possible lay horizontally (or nearly so)—this effort will bring great rewards later with a more floriferous show over a greater area. To see a vine with pruning completed, check out the after photo of Clematis ‘Fair Rosamond’ below.

Pruners work for cutting clematis vines, but my little gardening scissors work even better!
After Pruning
Water and fertilize after pruning. Either use organic fertilizer (I use a mixture of manure and compost with a bit of bone meal and alfalfa thrown in) or any rose or tomato fertilizer.
Then sit back and enjoy the show! Once the clematis has just about completed its first blooming, a second bloom may occur later in the summer if you cut the vines back one-third to one-half. These clematis will grow many long vines over the summer, on which they will set the new flower buds for next year’s extravaganza. As these vines grow, twiddle or tuck the growing tips into their support in the direction you would like them to grow.

Clematis
‘Fair Rosamond’ After Pruning


tinthia said,
April 17, 2018 at 6:48 am
I searched far and wide to find a clear explanation on pruning type 2 clematis vines and yours is, by far, the best. I’m going to link your site to my blog, http://www.concordriverlady.com
Thank you and blessed be, Tinthia
LikeLike
clematisinseattle said,
April 17, 2018 at 1:27 pm
Thank you so much for the kind words, Tinthia! I checked out your blog–your place on the Concord River looks just lovely, even in snow! I lived in Boston myself for many years and have crossed the Concord River innumerable times. And thanks for reblogging my post, too.
Let me know how your clematis do.
LikeLike
tinthia said,
April 17, 2018 at 6:49 am
Reblogged this on Concord River Lady and commented:
Best explanation I’ve come upon for pruning type 2 clematis vines. Enjoy!
LikeLike