A Gloomy February Day in Seattle
Weather here in Seattle has continued gray and drab, though day-length is noticably getting longer. Take a look at the photo I just took from the back deck! Gloom and doom. Days like this are best spent armchair gardening (reading gardening books and seed catalogues) or computer gardening (surfing the net for garden ideas or plants to buy).
Personally, I opted to drool over my favorite online mail-order nurseries, especially those that carry oodles of clematis. I zeroed in on Joy Creek Nursery.
Maurice Horn, co-owner of Joy Creek Nursery, is very knowledgable about clematis. I once had the privilege of hearing him give a fascinating talk about the history of how clematis came into the horticultural world from the wild, including stories of some of the characters who hunted plants and brought them to Europe, and how some of the first hybrids, like Clematis Jackmanii, came into being. As a result of strong connections to current Japanese clematis hybridizers, Maurice has access to many unusual and beautiful clematis, including little beauties with small bell-shaped flowers.

Joy Creek Nursery
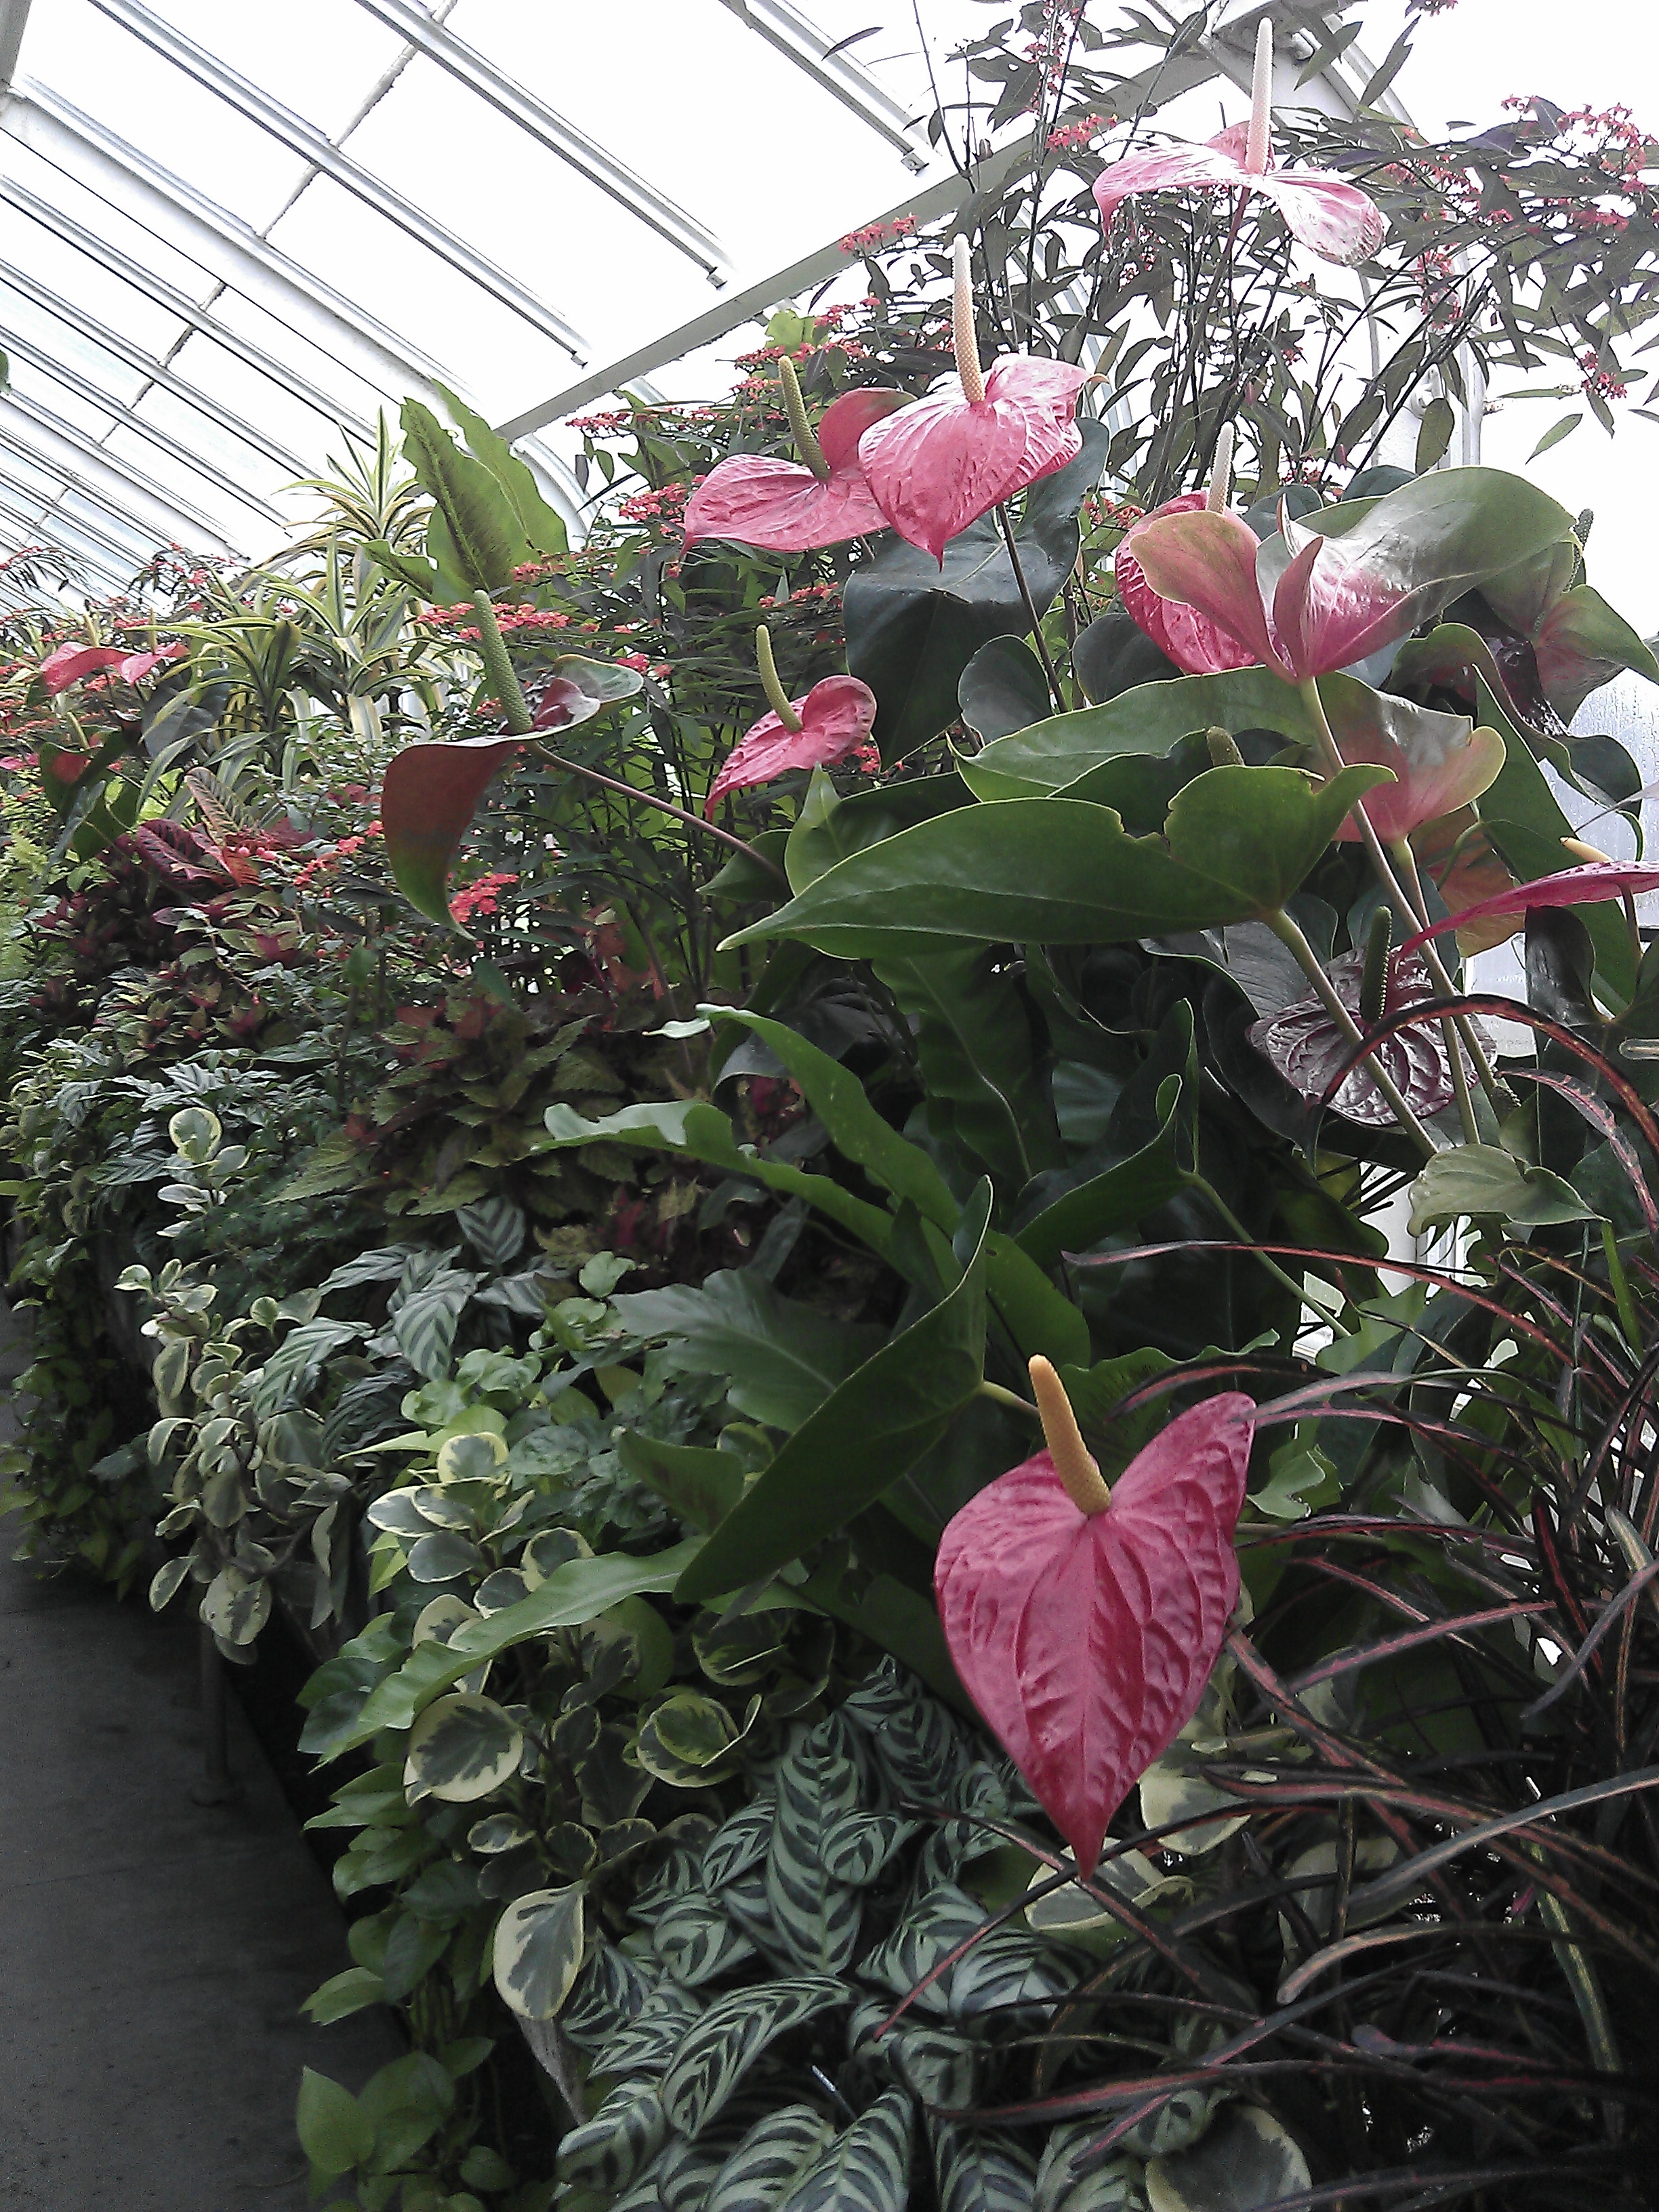
One HUGE advantage of Joy Creek Nursery over some of the other mail-order nurseries is that one can actually go there in person as well as order online or via telephone. The nursery, which is open seven days a week from March through October, sells hordes of plants and has truly fabulous display gardens where visitors can see how plants grow and combine with each other, including many clematis. Joy Creek also runs a Sunday lecture series throughout the summer. They are located in Scapoose, Oregon, on the Columbia River north of Portland. (Photo from Joy Creek Nursery.)
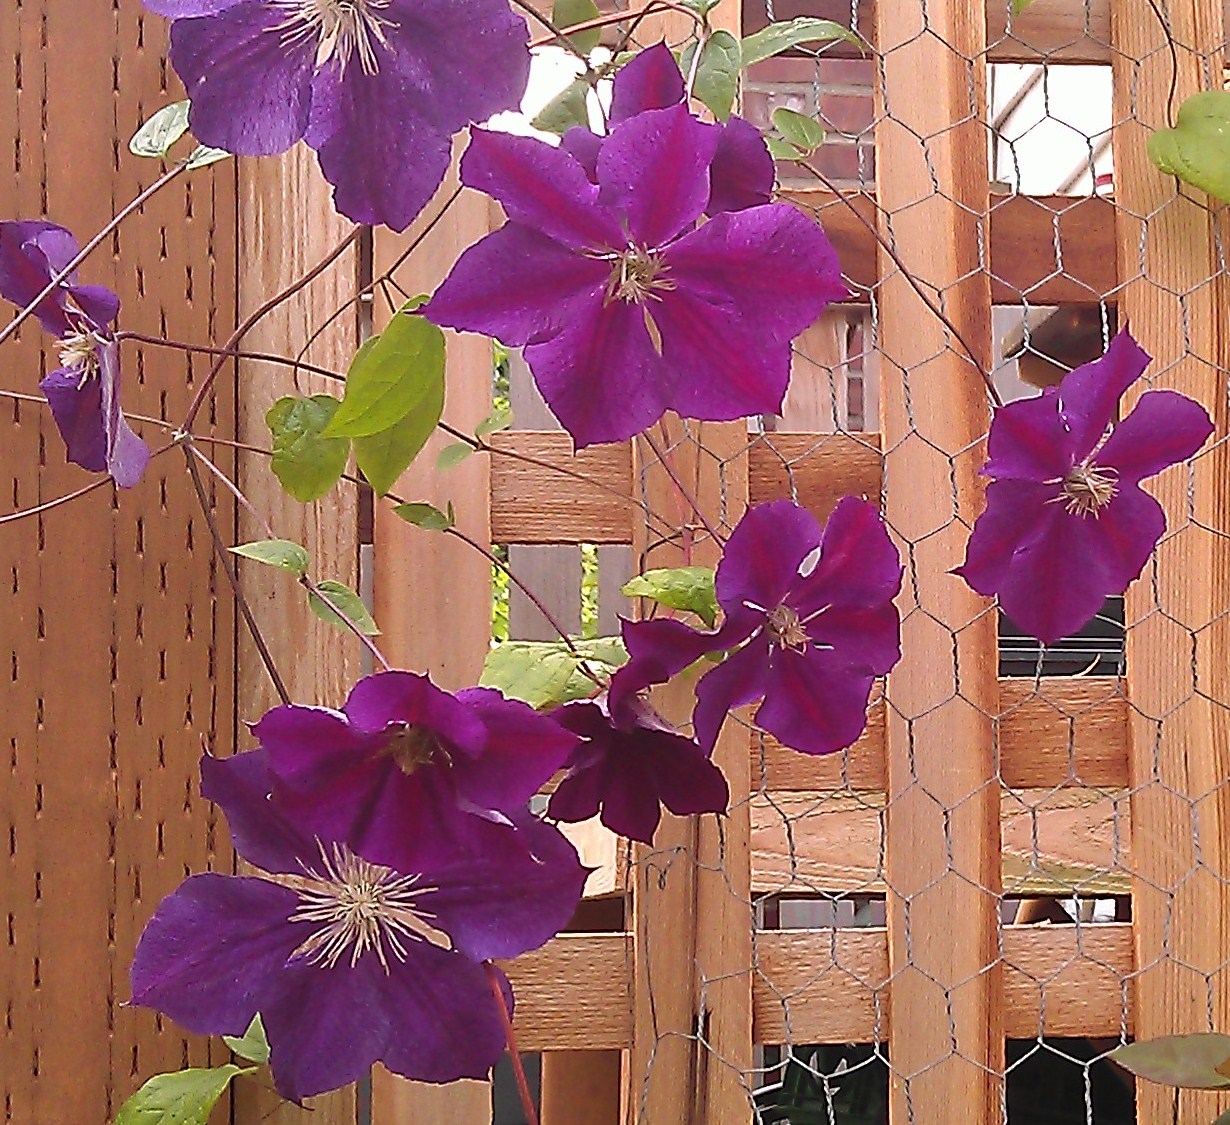
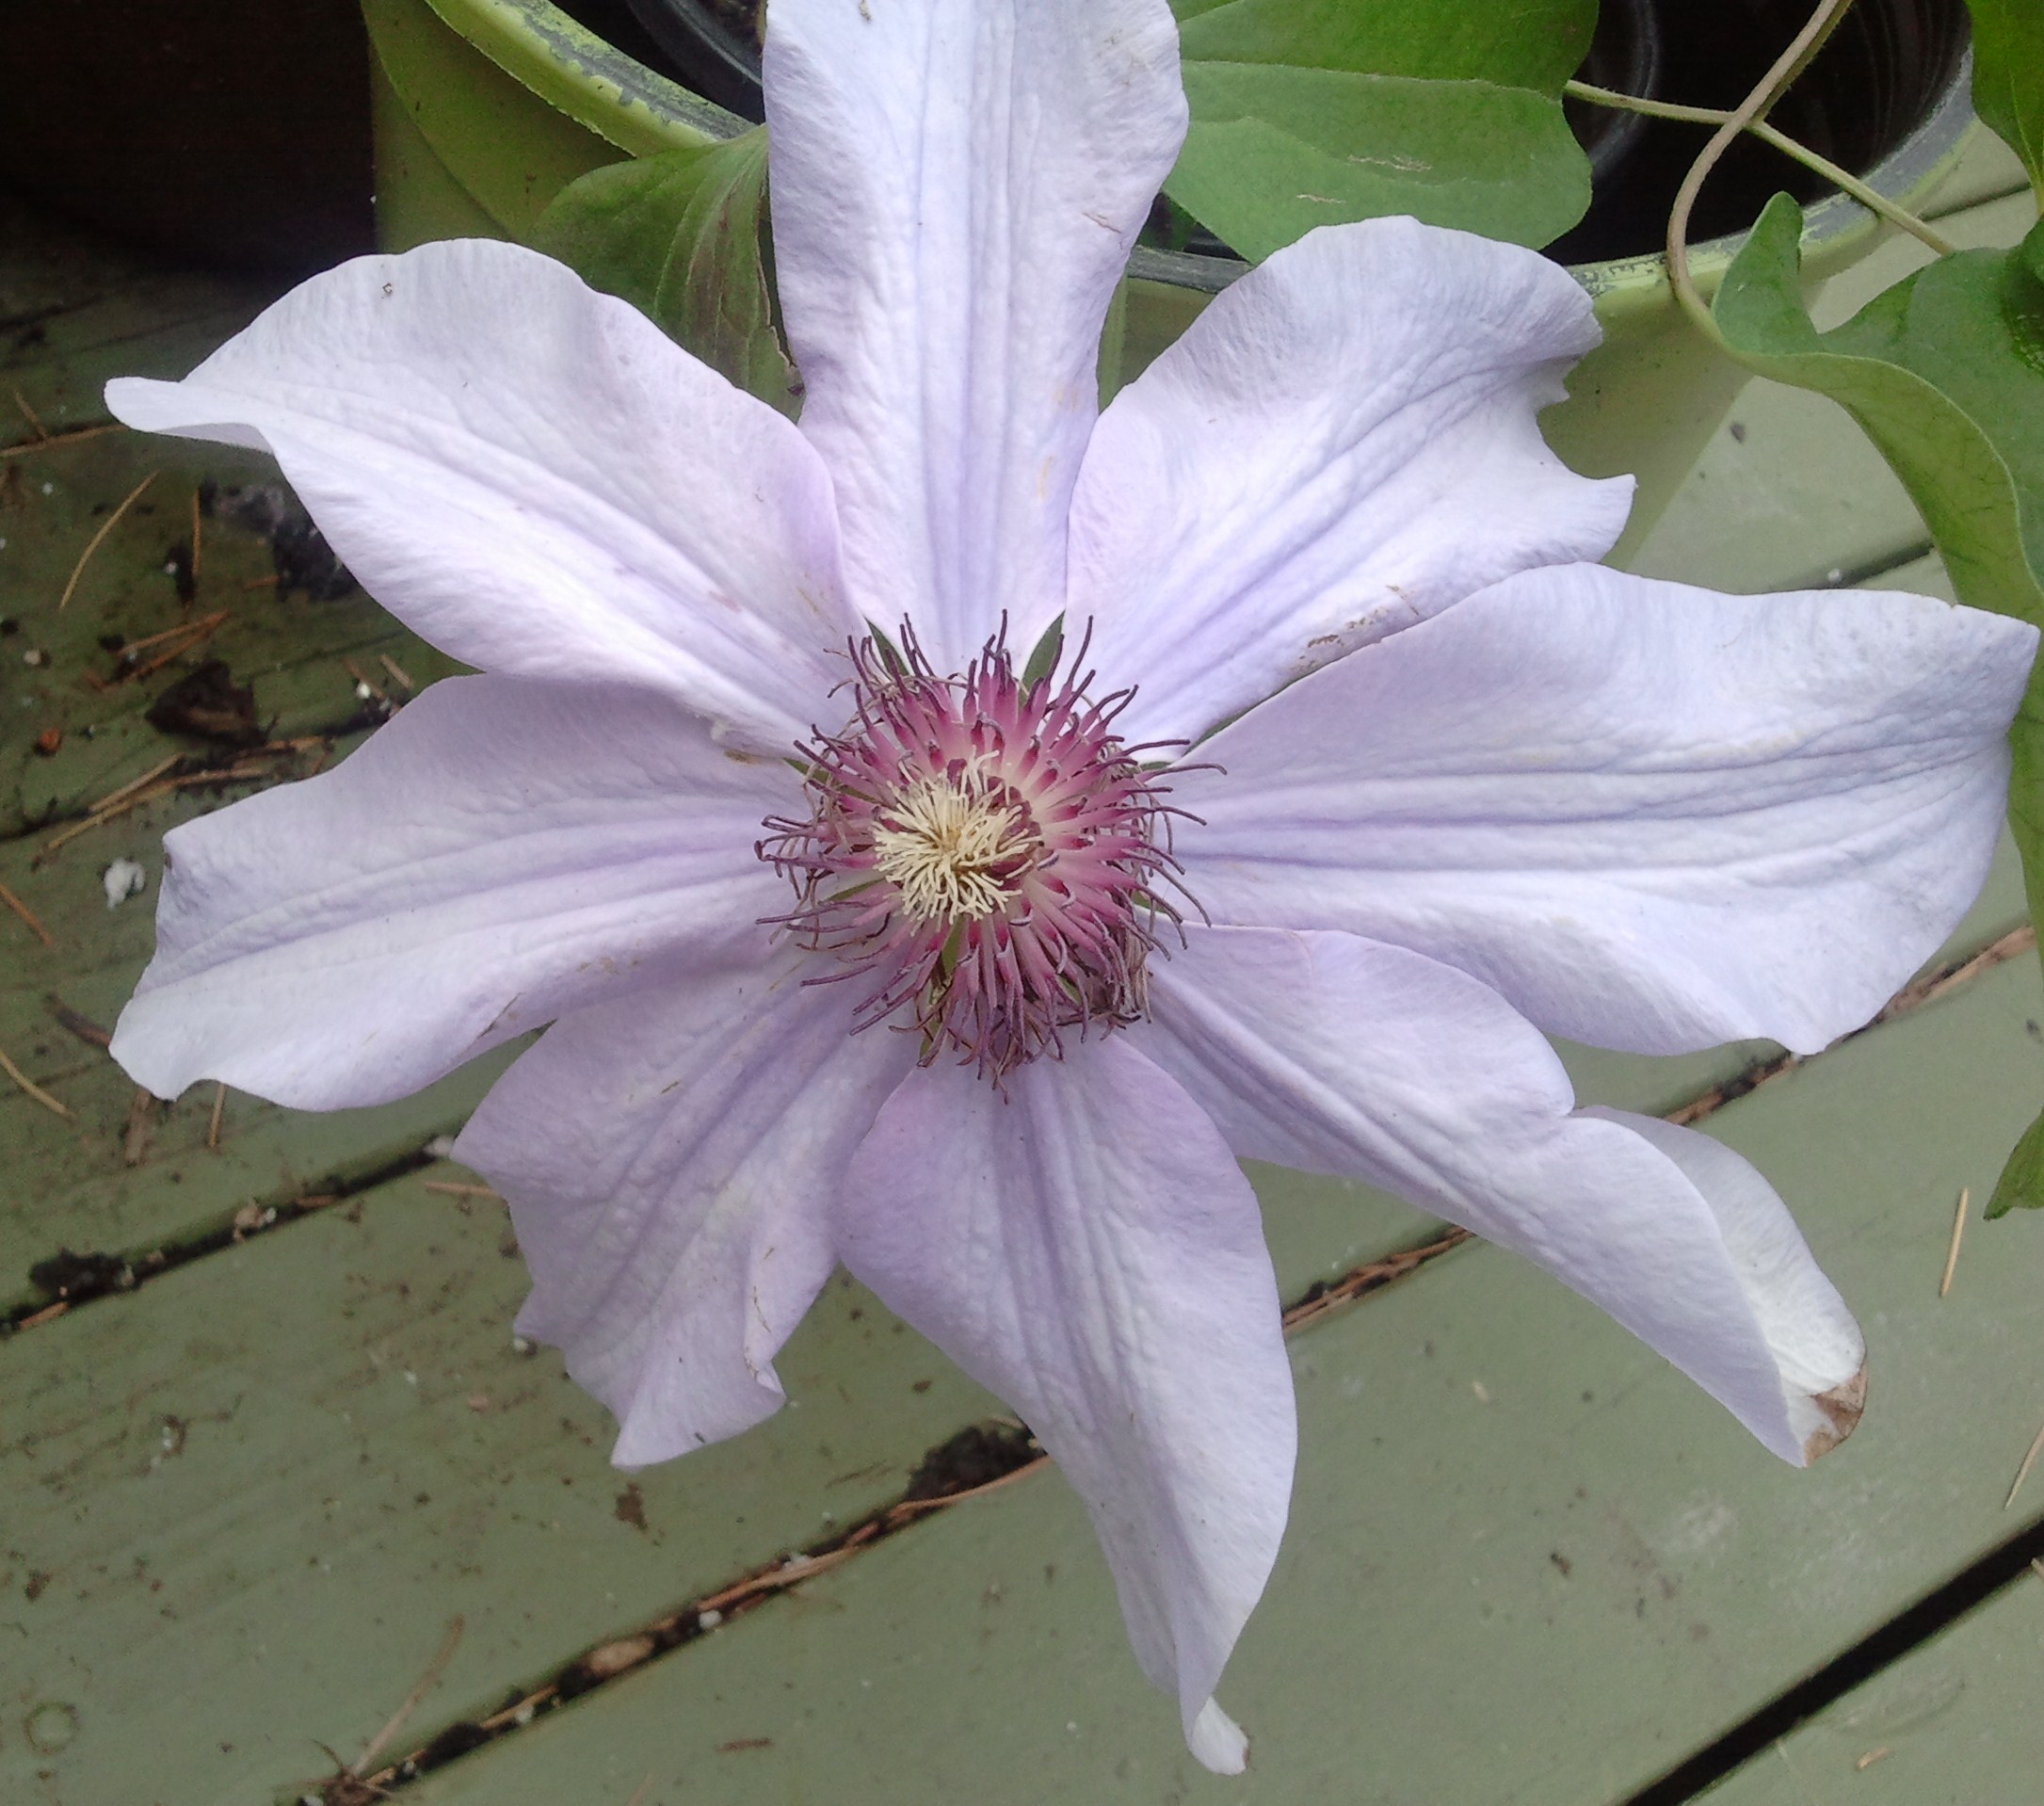
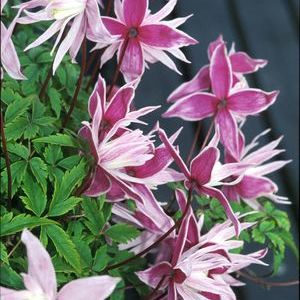
But back to my mail ordering. The many plants I’ve gotten from Joy Creek over the years, whether mail-ordered or purchased in person, have always grown healthy, strong, and beautiful. Below are photos of two, Clematis Bijou (a ground cover clematis from British hybridizer Raymond Evison) and Clematis Shizuki (one of the Japanese hybrids with a blue-violet bell crisply outlined in white that blooms all summer in a pot on my deck). This year, I ordered two more clematis from Joy Creek Nursery–Clematis Kahori no Kimi and Clematis Princess Red. Both have flowers in the form of pinkish-red nodding bells, and Kahori no Kimi is said to have the additional enhancement of a citris scent. I notice Princess Red no longer shows up on their website. Yikes! I hope they didn’t run out before they put my order through!

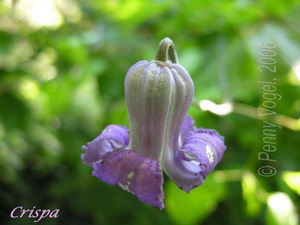
Clematis Shizuki

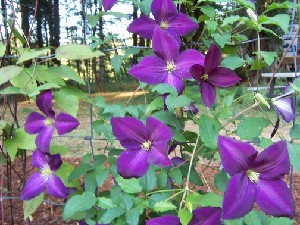
Clematis Bijou, a ground-cover clematis